Monday, February 28, 2011

Clay and Wire Poison Dart Frog

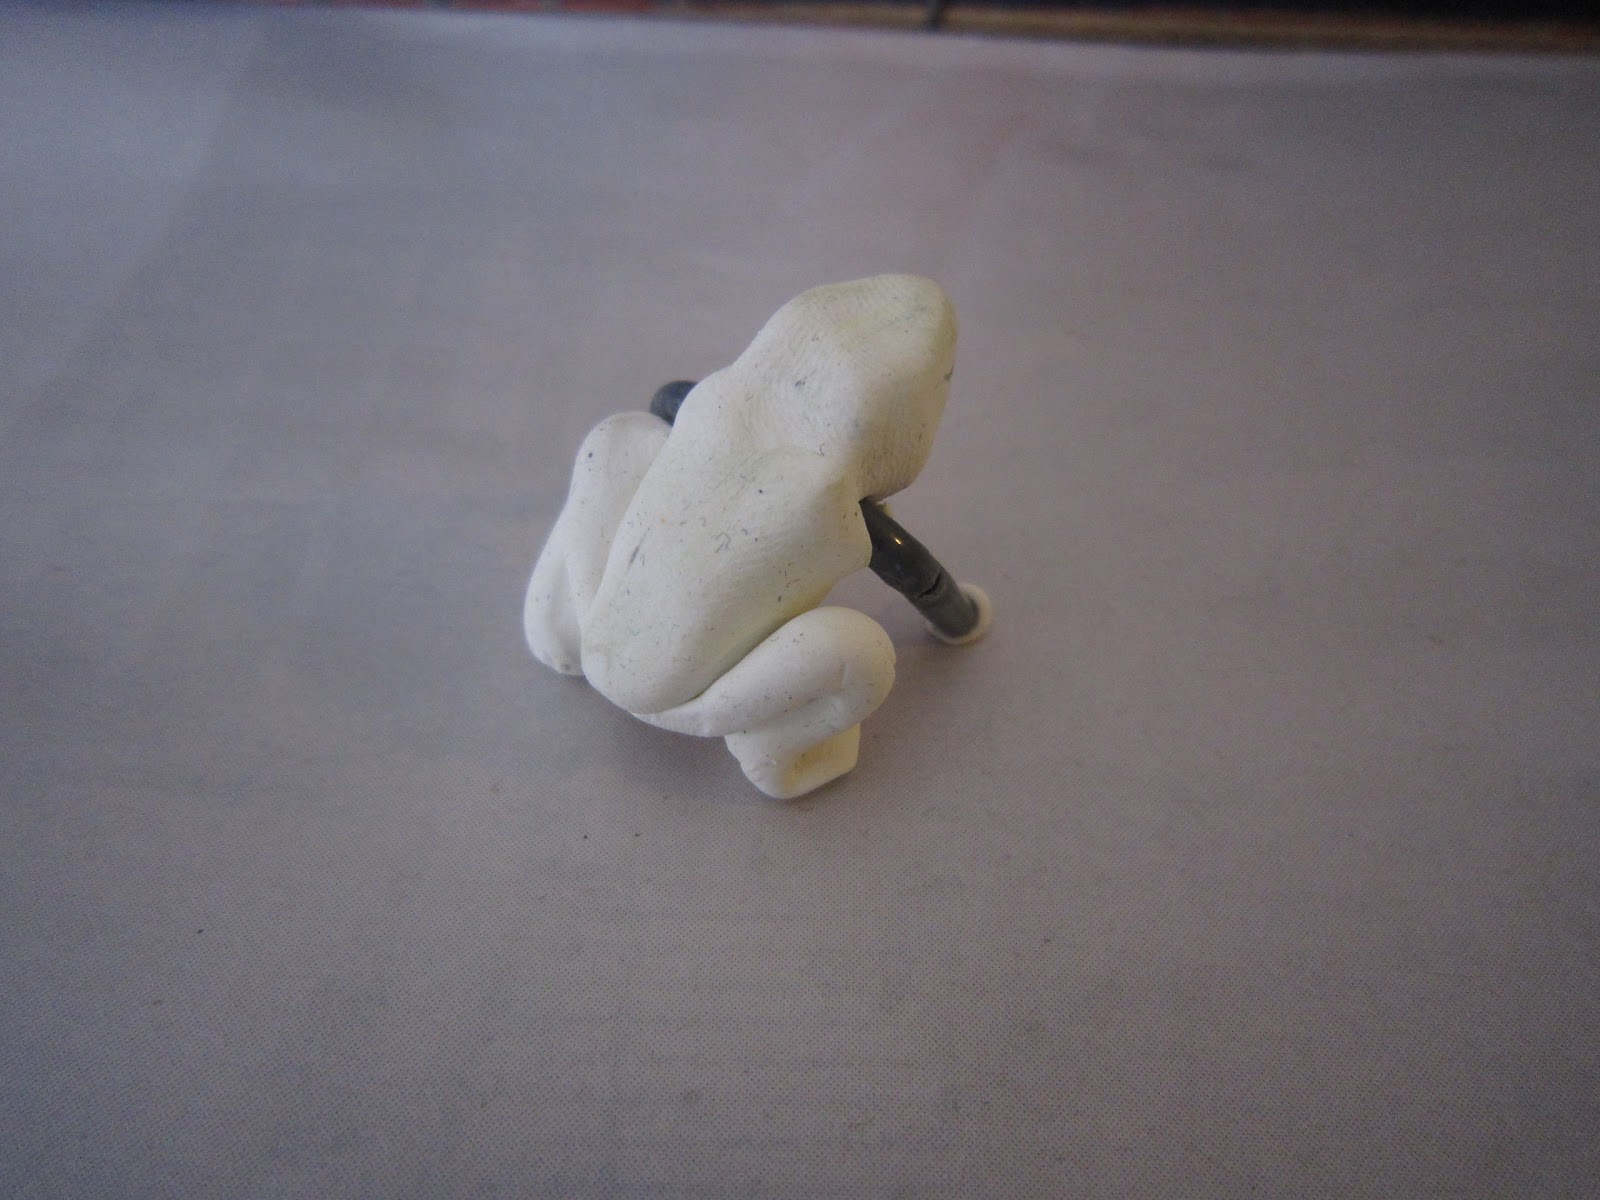
I've been reading about poison dart frogs a lot lately, and decided to try to make one for myself.  They are very small creatures, so I tried to go for life size (about an inch long).

I made the frog out of white Sculpey clay and some phone wire I had around the house (left over from the Batman costume).  Since poison dart frogs usually have very complicated and ornate coloring, I decided to paint the frog rather than make it out of multiple colors of Sculpey.  The wire was necessary because the tiny front legs of the frog refused to stay up when made out of clay, so I replaced them with wire to make sure my frog didn't collapse.  In the end I didn't make any of the toes for the frog, but they quite likely would have just broken off anyways.

To paint the frog, I first went with a solid yellow base coat.  I did this three times in order to get a very bright, rich yellow color, and also because the wire legs were fairly resistant to being painted.

Once the yellow was on, I added the black.  This particular type of frog is actually black with yellow stripes, but if you paint black first, the yellow will be a hundred times more difficult to get right.

Now that the frog was painted, I added a clear coat of varnish to give it that shiny, wet, amphibian look.  All done!

See all the frogs here!


For this project I used Sculpey clay and Games Workshop paints:
 

Sunday, February 20, 2011

Artfully Arranging Flowers: Three Roses for Valentines

Flower arranging is nothing unique of course, but this year I tried to make a Valentines arrangement that would stand out a bit, or at least not just be a vase packed with flowers.  I looked at a lot of arrangements available online, and eventually was inspired to make this.

The supplies are: A square-ish vase, smooth river stones, two glass hearts (not necessary, but add a nice touch), and three roses with some greenery and baby's breath (the tiny white flowers).

I put the rocks in the vase and put the hearts on top.  I debated mixing the hearts deeper into the rocks, but I didn't have enough to make them stand out and not just get buried.  If you're using a lot of glass beads or something similar, you could just mix them with the stones.  Next I cut the roses to three separate lengths, each long enough to have the stem reach the bottom of the base, and each one a flower longer than the last.  I decided to have the red rose the main flower, so it was the longest.  Place the roses into the vase and make sure the rocks are holding them well in place.  Finally, accent the roses with the baby's breath (cut so that it will be below the height of the rose flowers) and tall greenery in the back.   See the diagram for heights and numbers of materials.  Of course, don't forget water!

See all Cut Flower Arrangement ideas here.

Tuesday, February 15, 2011

Water Color over Ink drawing


Water color over ink.  I'm very happy with how it turned out.  I really don't know much about water-coloring, so this is a nice way to fake it.  For more water-colored items, click here.

I used some old water colors I found at home; nothing even remotely fancy.

Sunday, February 13, 2011

Minnesota Song Birds: Water Color

I finally had a chance to color in my new Minnesota song bird drawings.  I used old water-colors (I think originally from a coloring book...they're quite old) and colored in a print out on 110lb card stock.  The card stock isn't made to be water-colored, and the paper did warp a little, but not too bad.  Coloring over printed (or drawn) ink can be tricky because you can fade the ink lines if you make it too wet or brush over it too many times.  However, it meant I could try again if I messed up by just printing out another copy.

The original ink drawings are here
The first set of birds are here
Other water color pieces

Tuesday, February 1, 2011

Como Zoo Orchid Show

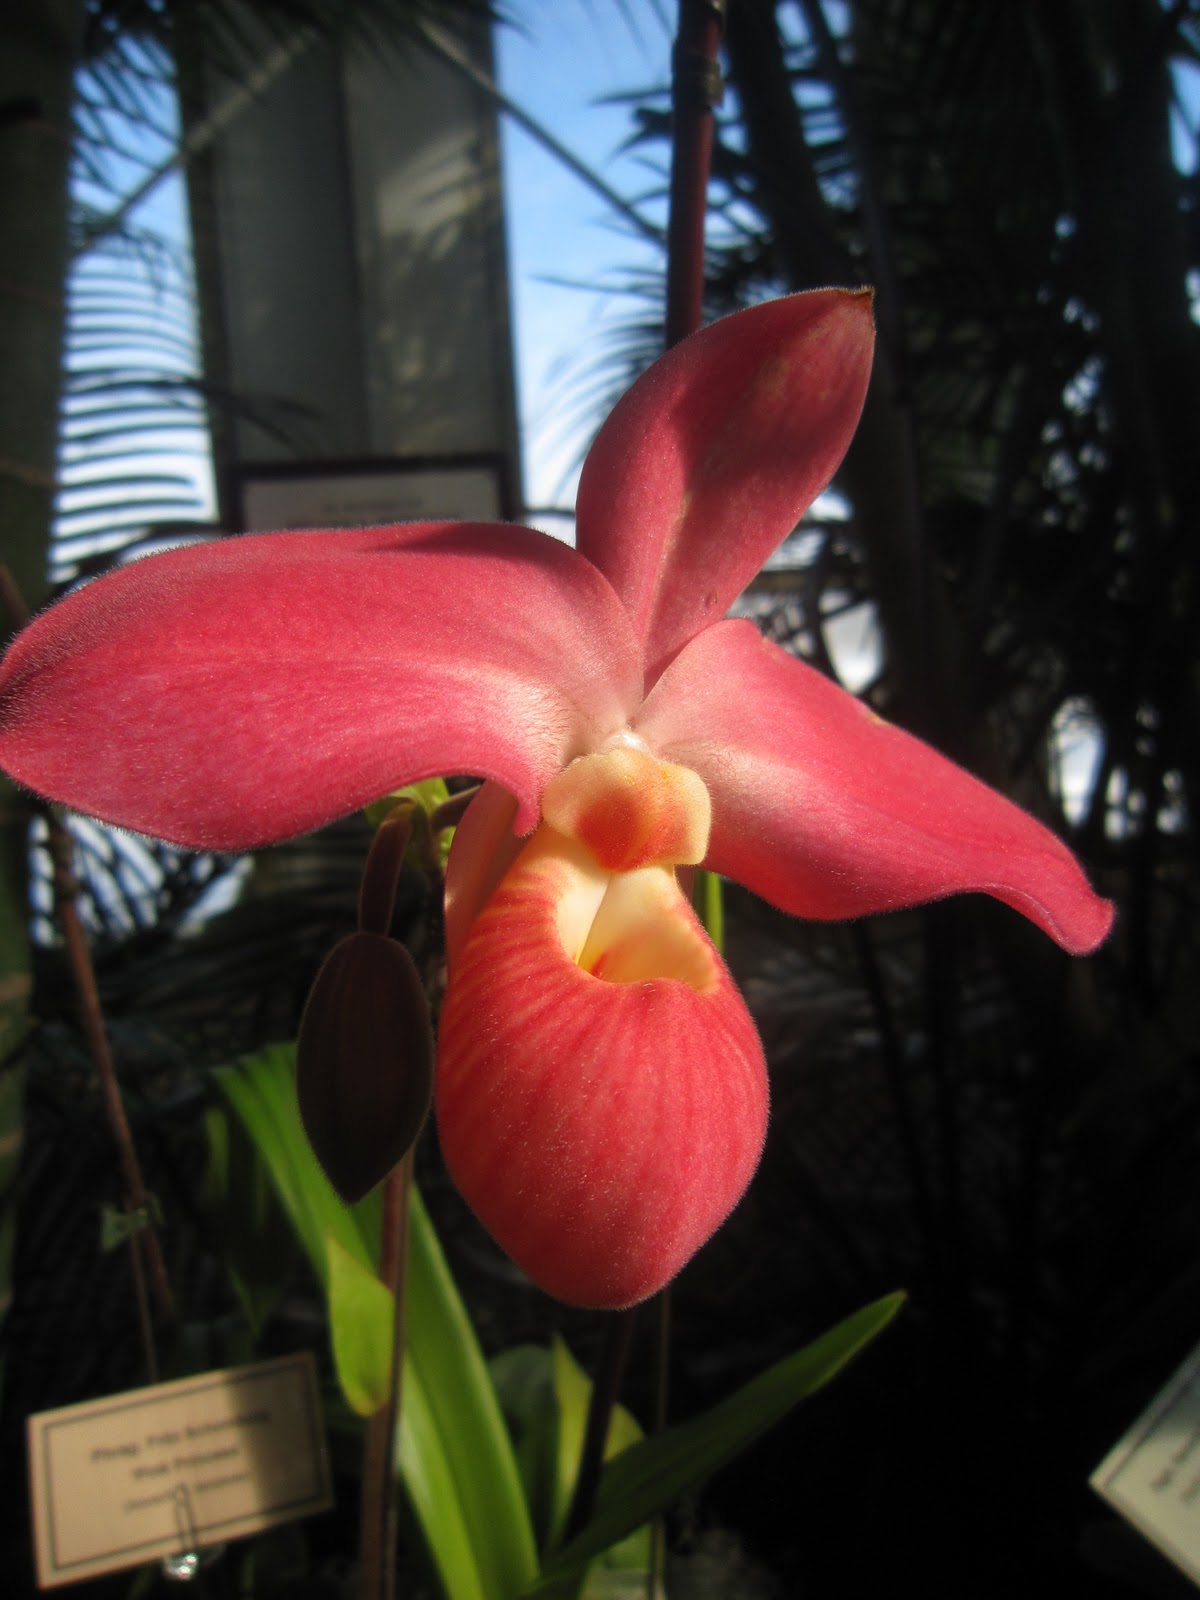
I went to the Orchid Show at the Como Zoo this past weekend, and was quite amazed by the number and variety of orchids, and thought I'd share.  I was quite happy with how well my camera's macro setting was working indoors and under rather adverse conditions.


See more orchid related posts here
This is my camera

Friday, January 28, 2011

Christmas Cows

Some drawings I did for Christmas cards this year.  I very much enjoyed drawing them.   

Sunday, January 23, 2011

Canon Powershot SD980 IS: Goes to Florida

I was recently in Florida with my camera, and here are some of my favorite photos from the trip.  I love the versatility of the camera; it works well for super close (best), medium distances, and is even ok for landscapes. 


This last photo is for all you people who, back in 1969, doubted we ever really landed on Cape Canaveral (also it was taken out a moving bus window).

  This is the camera I use.  More photos (various) here.

Tuesday, January 18, 2011

Re-potting Phalaenopsis Orchids in Sphagnum Moss

A few months ago I re-potted some of my phalaenopsis orchids which had finished blooming.  This was my first time, so I wanted to wait awhile to make sure it was successful, but the orchids are doing well (and budding and adding leaves and generally quite happy) so I'm confident that it went well.  Here's what I did:

Supplies: Sphagnum Moss, New Orchid Pot, Scissors

1) Buy a new pot.  I found some nice clay ones that are very well aerated.  Orchid pots need lots of holes so the orchids don't sit in standing water and rot.  Clay also helps take up moisture to further prevent this.  Your new pot should not be much larger than your old pot, as orchids like to be in fairly confined spaces.

2) Remove the orchid from its old pot.  In my case, the orchids had a plastic pot inside the pot they were in, so I had to cut it off.


3)  Remove old moss/potting material.  The purpose of re-potting is not just to give the orchid a bigger space to live in, but also to remove old decaying potting material.  The potting material will be very tightly wrapped around the orchid, so be careful when pulling it out.  You may need to cut out sections at a time.  The roots of the orchids come in two varieties: roots growing under the potting material, and roots growing in the air.  Make sure you know which are which (the air roots are shiny), because when you re-pot the orchid you will need to keep them the way they were.  You may also find some dead/decaying roots.  These will be black.  These should be snipped off with the scissors to prevent them from rotting anything else.

4)  Now that you have your orchid and its healthy root system, you need to start re-potting.  I used sphagnum moss because it looks good and I'm accustomed to watering orchids in sphagnum moss.  The trick to re-potting is to get a TON of moss around the orchid  (note: some people recommend soaking the moss before re-potting, but I did not do this).  First I took a large ball of moss and put it inside the space directly under the plant which the roots wrap around.  Fill this as much as possible.  Next, I put some moss at the bottom of my new pot.  I put the plant part-way into the pot, then continued packing in moss around the outside of the roots.  You shouldn't be able to easily lift the orchid out of the pot once you've added enough moss, so keep adding until it is well wedged in.

5) Finally, add some water.  You'll want to water lightly for the first watering or two after re-potting so the plants can adjust, then go back to regular watering after a few days.

My orchids have been doing quite well since I re-potted them.  They have new leaves, new roots, new spikes, and lots of new buds!


For more Orchid related blog posts, click here!

Thursday, January 6, 2011

Minnesota Song Birds

My latest drawings, another series of song birds (not to scale).

From top to bottom, left to right: Tufted Titmouse, House Sparrow, Nuthatch, Cedar Waxwing, Purple Finch, Baltimore Oriole, and Rose-breasted Grosbeak. 

Still debating whether or not to try water-coloring them.

See all the Song Bird drawings

Monday, January 3, 2011

Two Purple Finches

I was never wholly satisfied with my first purple finch drawing, at the bottom of this post, because even though it was made to be water-colored, it seemed like it still was just too lacking in detail.  So I made a new finch, and the new one makes me much happier.  The new finch displays a lot more 'coloring' and patterns, even in black and white, so you have a better sense of what the bird looks like.  Here are both of them, see if you can spot the differences :)   Here are all the Song Bird drawings

As always, these are the pens I use and love: