Monday, July 25, 2011

How to Divide Hosta

Another post that is already more than covered by the rest of the internet.  Dividing Hosta is really easy, as Hosta are incredibly resilient and hardy plants.  If you're ok with them not looking amazing for the summer, you can divide them pretty much whenever you want, and the next year they will be swell (if you want them to look nice, divide them while the shoots are still coming up in the spring, or in early autumn when most plants are done looking nice anyways).  You can divide them either by digging out the entire plant and then cutting it (good if you're planning on making more than one division in a single plant), or by just chopping the plant in half with a shovel while it's in the ground and only digging out the part you want to remove/transplant.

To help extend the life of plants out of the ground, you can leave them in the shade, keep lots of dirt around the roots, and/or moisten the roots with a hose.  The more roots you have in each division, the faster they will rebound after transplanting.   

Dig out method:
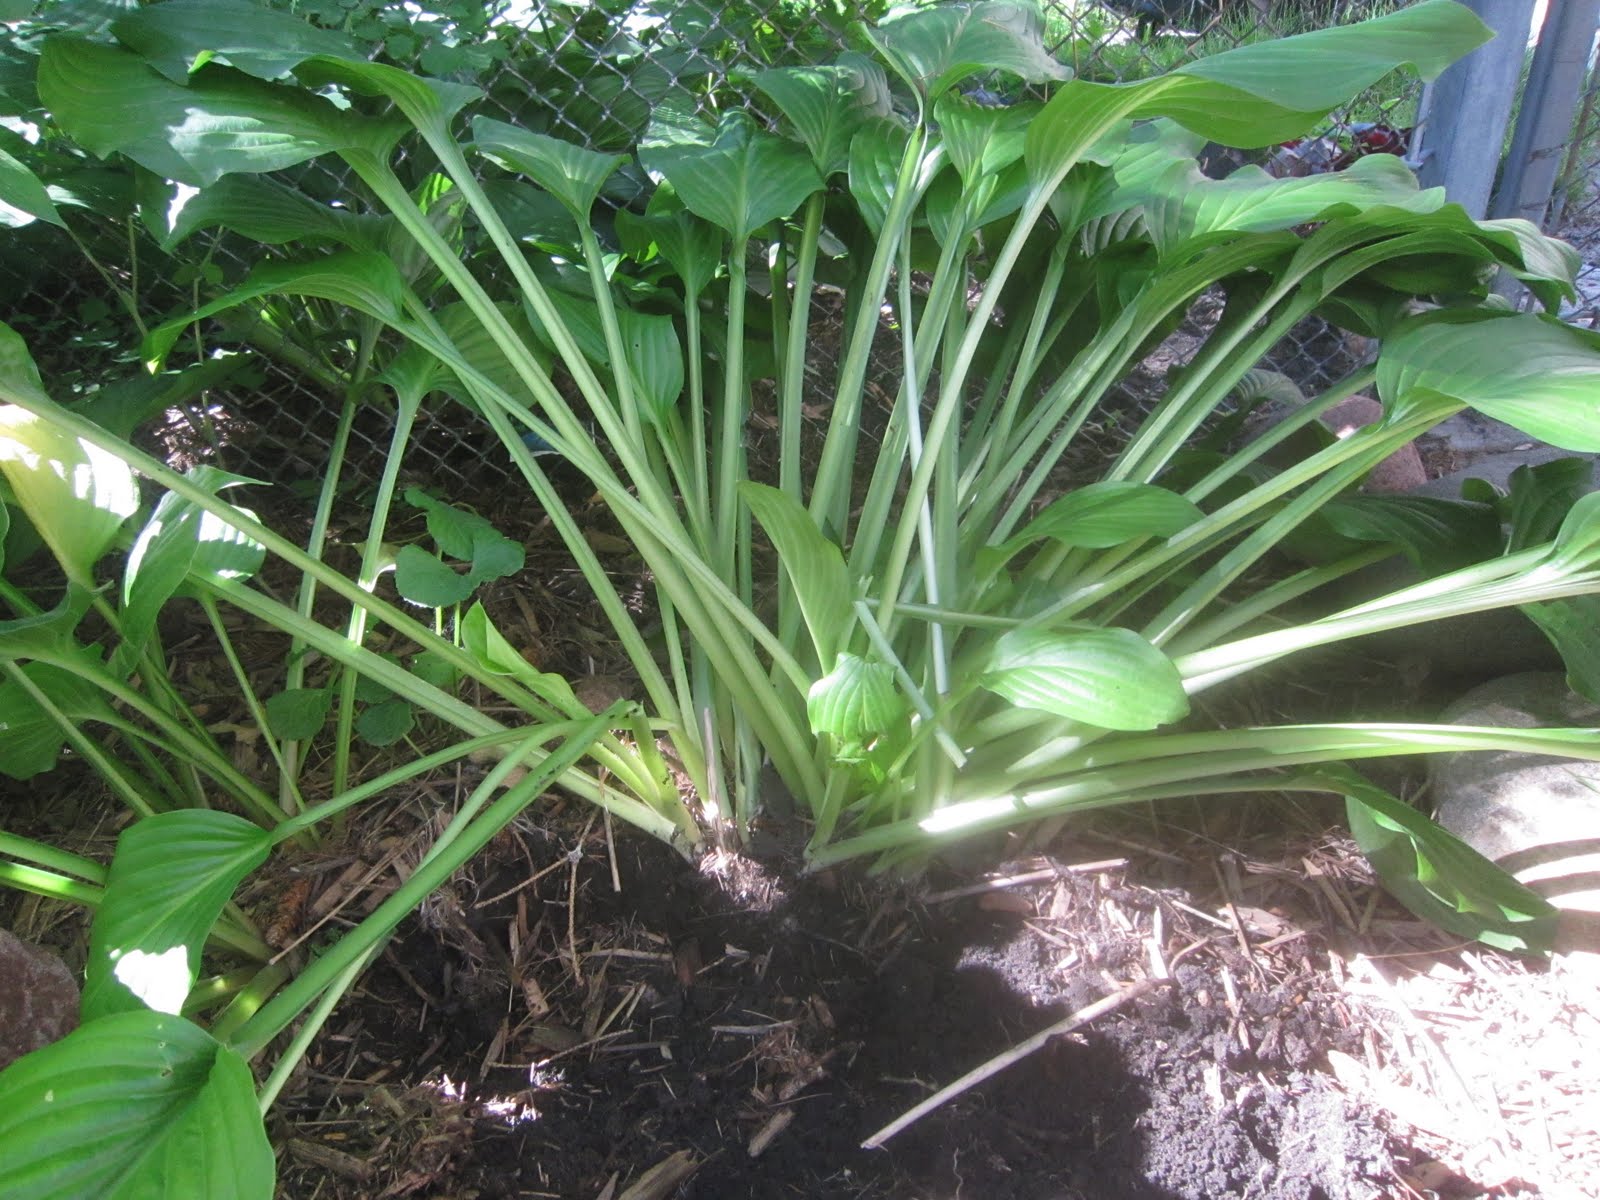
1) Dig plant out of ground (you want to preserve lots of roots so that each of the divisions gets plenty of roots, so be sure to dig a nice deep hole when digging out the plant)


2) Separate leaves and find a natural separation line where you can chop the plant in half without breaking all the leaves (it's fine if you break some leaves, but you don't want to have a root ball bereft of foliage).
3) Chop! I just use my big garden shovel and push it with my foot, like I'm digging a hole.  


4) If you have a very large hosta, you may wish to further divide the two halves.  Make sure each division contains part of the primary root ball.
5) Replant and water! Don't let the divisions sit out of the ground for very long because they dry out (though, again, they are hosta and will probably survive anyways).

Chopping in the ground method:
1)Identify a natural division between leaves so you can chop the plant in half without destroying all the leaves.
2)Chop! Use a big shovel, place it along where you want to divide the plant, and kick it into the ground!
3) Dig out the half you want to remove or transplant.  Make sure to replant it in a timely manner. 


Addendum: This spring I had a chance to divide one of my hosta in a more timely manner using the 'divide while the shoots are still coming up' method.  It is still very simple, and actually a little easier than after the leaves open because there is less stuff in the way.  This was a hosta that should have been divided last summer but it is one of my nicer plants and I didn't want to damage the pretty leaves once they had unfurled.  So this spring I got to it early, chopped it in half with the shovel, and moved part of it to a new location!   You can see from how long the roots are that I actually could have dug out a bigger hole, but there were other plants I wanted to leave intact.  It really is just as simple though as dividing the patch of shoots with your shovel, chopping down, and digging out!


Thursday, July 21, 2011

DIY Finishing a Butcher Block with Mineral Oil

Mineral Oil is the cheapest and easiest way to finish a butcher block. Easy and Cheap! and DIY!  You don't want to leave a butcher block unfinished because the wood can easily become damaged/stained/moldy, so applying mineral oil periodically keeps it nice and useable.  You need to re-finish the block from time to time as the mineral oil is not a permanent finish (there are no permanent finishes for butcher blocks).  There are other, more expensive, ways to finish butcher blocks, but many products used for this purpose also contain mineral oil and are way more expensive. (Note: do NOT use Mineral Spirits, which is paint thinner).

Hardest part? Finding Mineral Oil.  It's primarily sold as a laxative, so look for it at your local pharmacy/drug store (I got mine at Walgreens).  I wasted a lot of times going through kitchen sections and looking at other types of wood finishes at other stores before realizing it's a laxative and sold in a completely different store than the hardware store I was at.

How to use:  Take unfinished butcher block (or butcher block in need of re-finishing) and pour Mineral Oil on top.  Use a clean rag to spread the Mineral Oil around, and let it sink into the wood.  When the oil stops sinking into the wood, you have finished! Wipe off the excess.  The oil should settle pretty quickly, so you can use the butcher block shortly thereafter.   

Below: Before and After photos of my newly finished butcher block.  


Wednesday, July 13, 2011

DIY Super Fast Super Easy Cardboard City Skyline Parade Float

I recently was tasked with building a city skyline for a parade float.  As usual, I used cardboard and duct tape as most of my materials, along with some spray paint.  I had to make a lot of buildings, so I figured out a basic form and then made slight variations to make the buildings vaguely unique.  I also ended up doing some specific buildings from the St Paul skyline, but those were just variations on my generic buildings.  Note: many times when I say 'I' in this post I mean 'we,' thanks Cynthia!

Here's how to do it:


1) Start with a bunch of broken down cardboard boxes.  Each half box gets you 1 building by using the largest rectangular side as the building itself, the two smaller flaps (top and bottom of box) on either side of that as support, and the smaller side of the box as the base.  See diagram for how to cut and fold the boxes.


2) Duct tape this all together, then spray paint the main building front.  I used brown, gray, and a sort of sandstone beige color.


3) Use black or silver duct tape to make windows.  You can make windows either as square, rectangles, or long strips of tape (I ripped the tape in half lengthwise for the long strips so they would be proportional).  Here you can see some of the variations on window designs I used.

4) Attach to float! We had a wooden based trailer, so we used a staple gun to keep the buildings down.  We also put cardboard backdrops (painted silver) behind them so you couldn't see the backs of the buildings from the other side.