
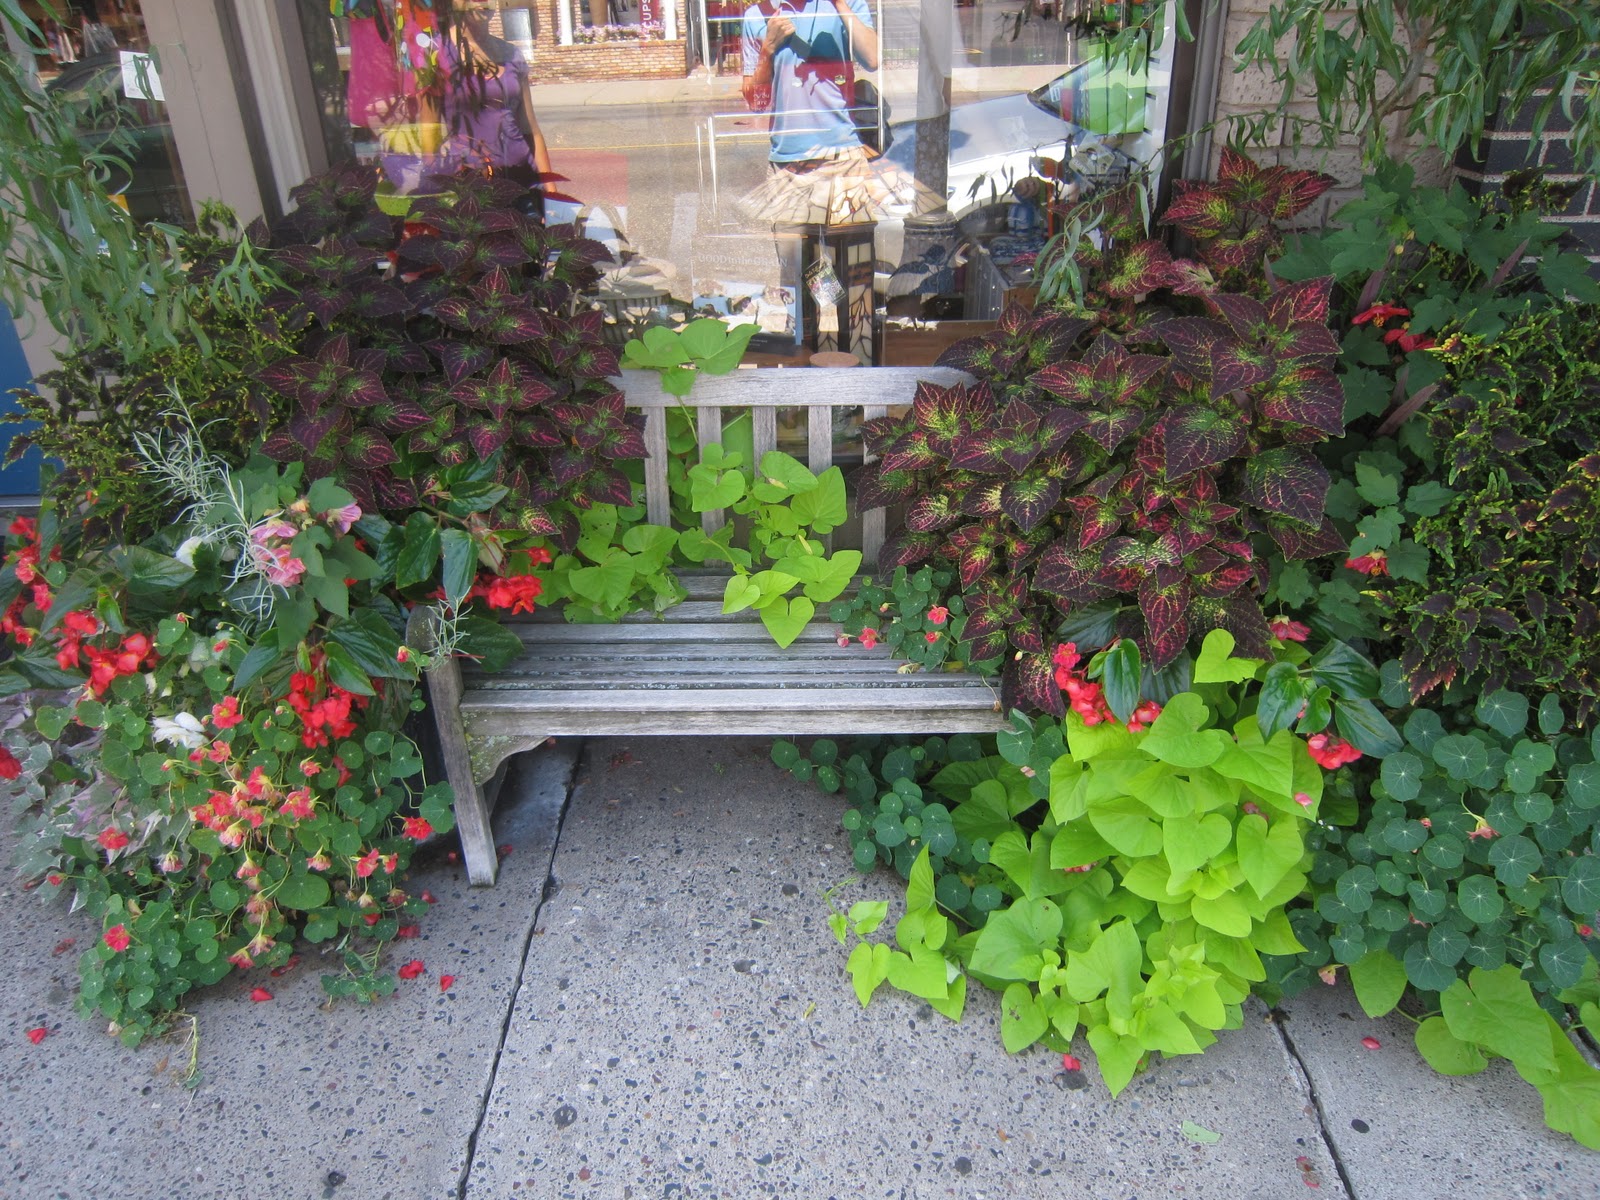
 It's sort of spring-ish, so I thought I'd finally post on my Coleus propagation, which I actually did at the end of last summer. Coleus are a great plant that have very colorful leaves and grow like crazy, so they make very pretty decorative plants (no need to wait for them to bloom!). On the left are photos of some displays of Coleus on Grand Avenue. My goal was to propagate Coleus using less than the standard 6 inch clippings that most people recommend. I did this by rooting coleus clippings in glasses of water, then planting them in dirt. To that end, I used 3 inch clippings of four different Coleus plants, and also tried using just clipped leaves from the plants. In the end, I managed to get 3 of the 4 types of plants to successfully propagate from the 3 inch clippings. The leaves actually managed to root in water, and lived for many months in soil, but never actually grew at all, and eventually died. The 3 plants that did survive have been doing amazingly well, and throughout the winter I had to trim them back at times to keep them under control. So, I heartily recommend propagating Coleus. It is easy and very rewarding.
 How to do it:

The Very Simple Version:
-Put 3 inch clippings in a glass of water, leave until roots sprout and are about 1 inch long
-Carefully plant in dirt (same type of dirt as the plant you got the clippings from is in)
 The more in-depth version:
First I took multiple 3 inch long (or so) clippings from a variety of Coleus plants and put them in glasses of water. I trimmed off the biggest leaves and just left two or four leaves at the ends of each stem. I left about an inch to an inch and a half of stem under the water. These stems had a tendency to curl after a few days in the water, so I had to periodically shift the plants so that they would stay submerged.

After 4-5 days I started seeing roots growing off the stems. Depending on the plant, it may take a bit longer than this for the roots to start.
 When the roots were about an inch or so long (about 8 days after starting for the quickest plant) I very carefully took them out of the water and put them in dirt (in shallow holes). The roots are very fragile, so you have to be careful with them. Try to keep the roots spread out in the dirt so that they are not all clumped together. Cover them very carefully with dirt, and add water. Of the Coleus plants I tried to propagate, two were successful in regular potting soil, but one required looser African Violet potting soil to thrive (to determine which you need, check the dirt from the plant you take a clipping from).


Update: It's flowering!


