

 It's almost Easter again, so I thought I would show a step-by-step of how I made this year's Pysanky (Ukranian Easter Eggs). For the basics of Pysanky and tips I've picked up while learning, click here. This year I am re-using dye from last year, by simply adding a little less than a tablespoon of white vinegar to the dye to refresh it (do NOT add vinegar to yellow, gold, or orange dyes, they do not need it and will be ruined).

First, I drew my rough ideas for the egg on a piece of paper. It took awhile to plan what all I wanted to have on the egg and the order of how to do the colors. Remember that with Pysanky, you always draw the lightest colors on first, then get darker, so it takes a bit of planning to make a design. You can get around this a bit by spot coloring areas with q-tips, but this only works for small areas. The image on the right shows two quarters of the design. The green grass runs around the entire design, and the bottom is a sunflower made by connecting the points of every blade of grass to a circle at the bottom of the egg. The top is a sun (shown completely on the right).
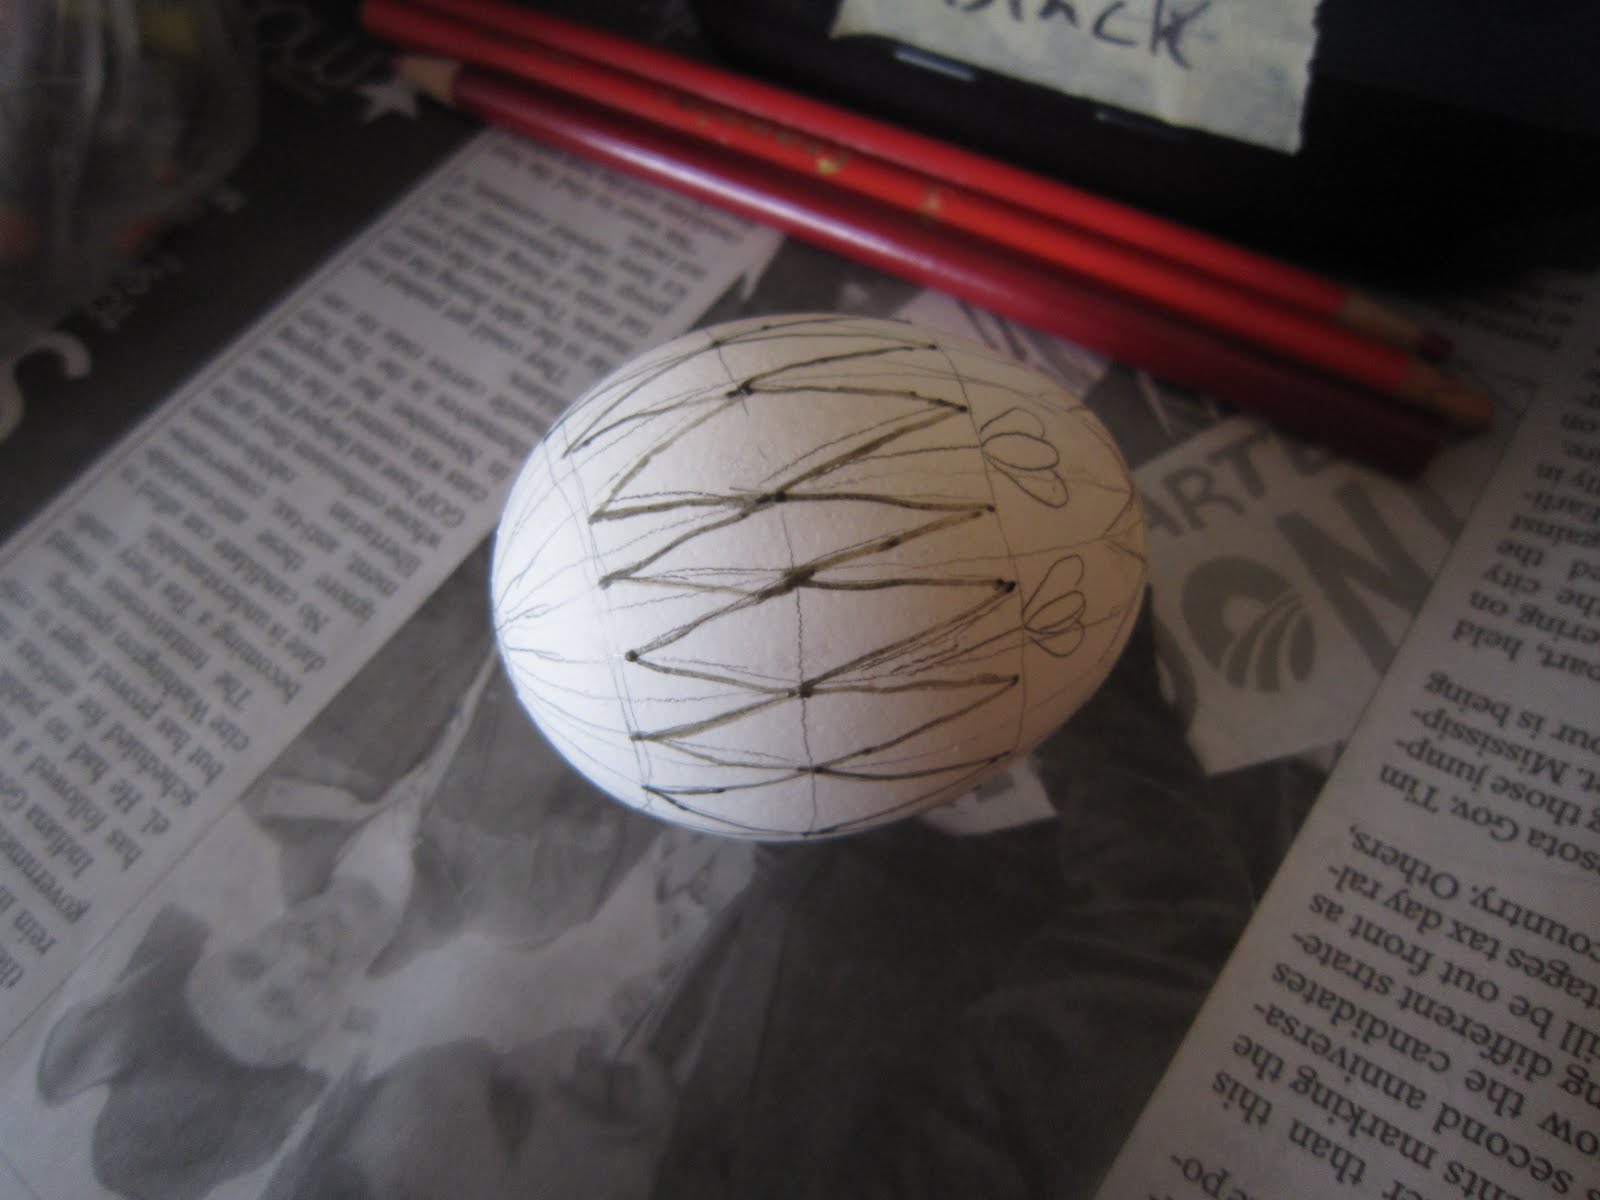
To draw on the egg, I start with drawing vertical lines to divide the egg in four (it's easiest to hold the pencil in one place, and rotate the egg underneath). Then I continue dividing the egg into 8ths and then 16ths. Finally I draw horizontal lines to show where I am going to put in specific parts of the design. In this case, these lines will show me where to put the diamonds that will make the grass in this design. Remember, you can always erase lines after you dye the egg, but do not erase lines on the egg before you dye or the dye will not stay well.


After drawing in the grass diamonds, I drew a circle around the top of the egg to be the sun. This was followed with points coming off in four directions, then adding four more points between these.


To make the sun more geometric, I then connected the points along the main edges, connecting each point with the point three away from it (See design schematic).


 I then drew the sunflower for the bottom of the egg. I connected all the points of the grass diamonds at the bottom of the egg, then drew a small circle to make the center of the sunflower.
 Next I drew in the flowers. I gave each flower pattern one quarter of the egg. I alternated roses (single) and the smaller crocuses (two per section).


Here you can see I started to wax in the designs. I decided to outline the grass, sunflower, sun, and crocuses in white, which means they all get outlined before I dye the egg.


I then spot colored the crocuses with purple by dipping a q-tip in dye and then dabbing the crocuses (having already outlined them in wax helps keep the dye from spilling over). After the dye has been on the egg for a few minutes, I dab the excess dye off with a clean q-tip, then wait for it to dry completely. Once dry, I cover the dyed section with wax so that it will not get colored when I dye the whole egg.


My first dye color was gold (a strong yellow, essentially). I dyed the egg for a few minutes, rotating it periodically to make sure every part got equal coverage. Now that the egg had been dyed yellow, I waxed over the sun (except for the sections I would dye red), waxed over the sunflower petals, and outlined the roses.


I next spot dyed the rest of the sun and the roses, using the same technique as the crocuses. It was a little tricky to color the roses this way because they are so large, but it still worked (just took a little longer). I then waxed over these sections, and dyed the egg light green.


Now dyed green, I waxed the stems of the crocuses, and waxed in every-other blade of grass. The rest of the grass I spot-dyed dark green, then waxed over them as well.


 Finally I dyed the entire egg light blue, but the color wasn't strong enough to cover over the light green, so I also very briefly dyed the egg in regular blue.
 Once the egg was finished, I melted the wax with a candle (careful to keep the egg far enough from the flame so the soot coming off the candle doesn't get on the egg, it's hard to get back off!), then rubbed it off with a paper towel. You can only melt a bit at a time, so it takes awhile. Once all the wax was off, I erased the pencil lines that were still visible. Then I coated the egg in polyurethane. I let it dry on a stand of four small nails, and after 24 hours hollowed out the egg (see my first article on Pysanky for more details on this). After my first one of these eggs, I made a few more that were slight variations on the original design (such as the one shown in the very first picture in this post).


