

For Halloween this year we are going as wizards from the Harry Potter universe, so of course we needed to create some wands! There are many descriptions online of using hot glue, dowels, and acrylic paint to make your own wands, and that's exactly what we did too. I was surprised at how well it worked, and how nicely the glue took paint. The glue works particularly well for organic shapes and patterns.

Supplies:
12 inch wooden dowels (from a craft store)
Sandpaper
Hot glue gun and many extra sticks of glue
Cheap acrylic kids paint
Glossy polyurethane
Steps:
The first step for me was sanding down one side of the dowel which would be the 'tip' of the wand.

Next I added the hot glue. I first made a sort of 'handle' for each wand where the thumb and forefinger will rest.

Next I embellished the rest of the grip.

Last I added a 'butt' to the wand to increase the overall length of the grip. This is essentially just a giant glob of hot glue. I added extra glue over the glob to make it more interesting. This also served to add extra weight behind the 'handle' and make the handle the balance point of the wand.
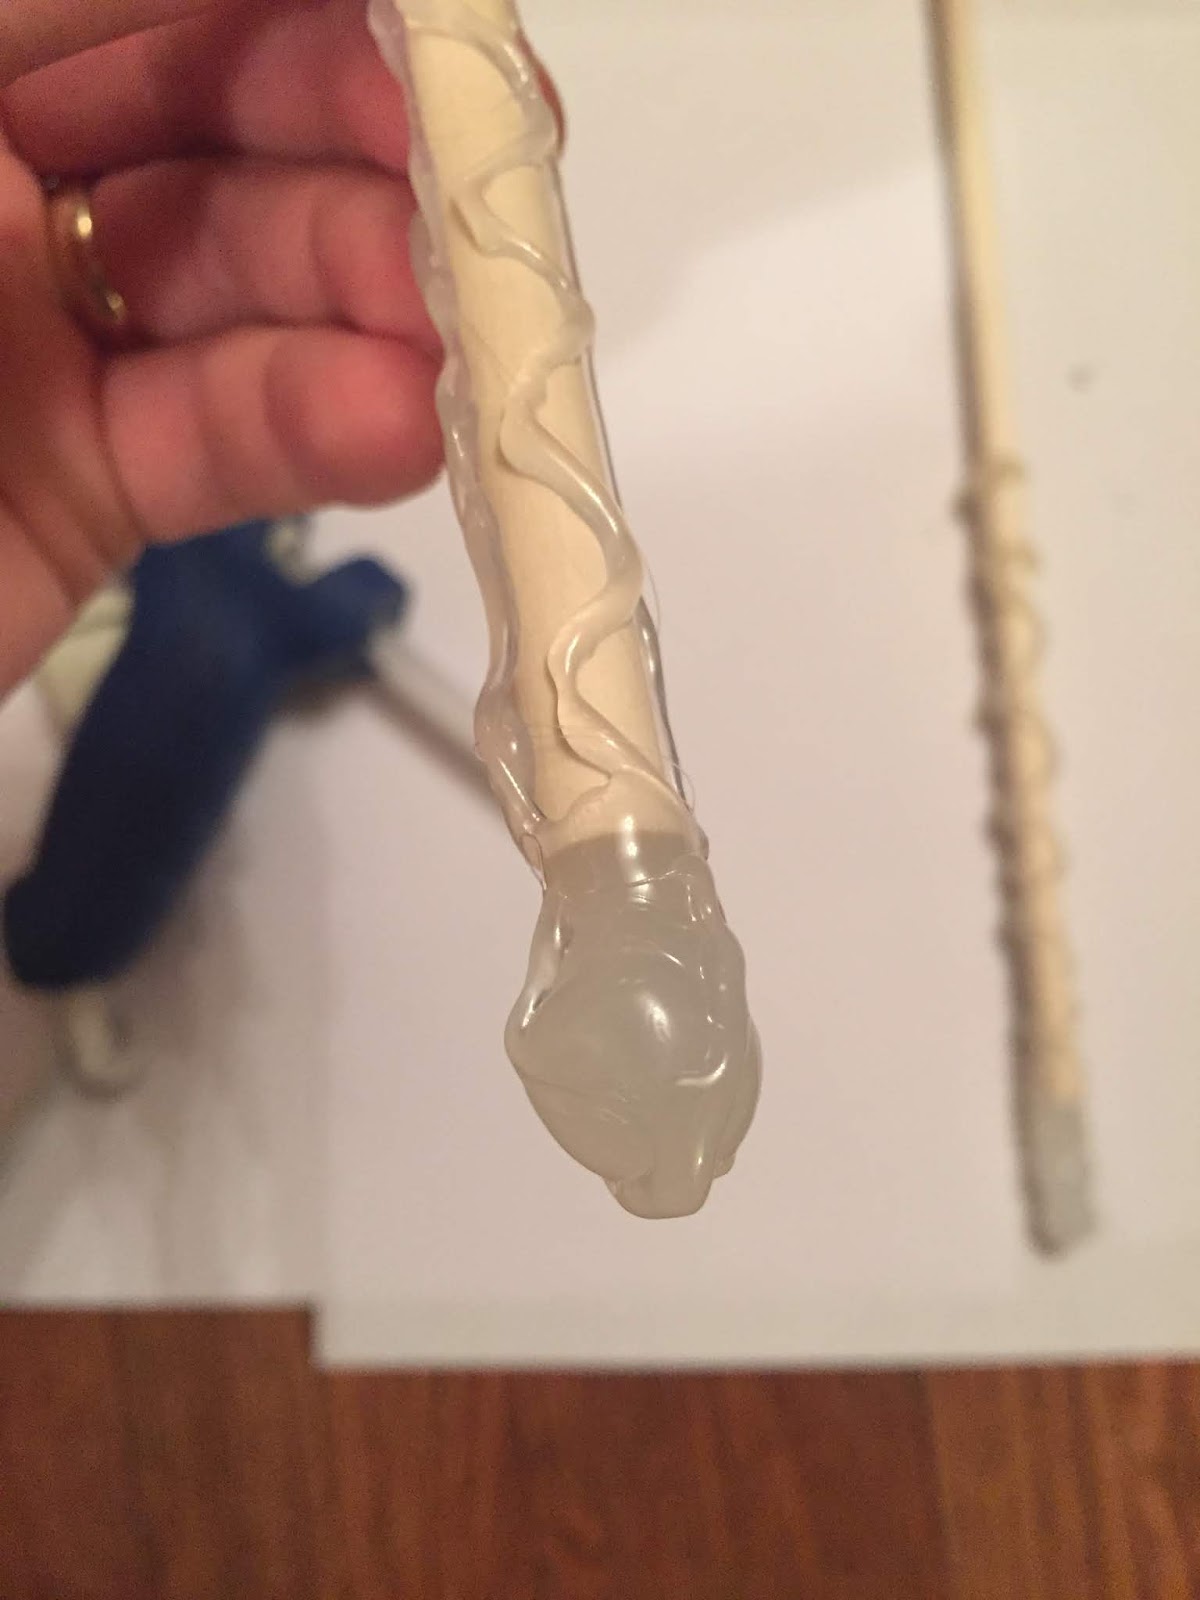

I stopped adding glue to the end once the balance was right.

I used a black base coat, then successive layers of brown, from dark to light. Each coat was thinner than the last, so that the deeper crevices remained darkest. The final lightest brown I only painted onto the glue embellishment, and did two coats to increase the brightness.


