Saturday, April 2, 2011

Identifying bulbs growing in early spring by shoots

It's finally nice enough here to walk around and see plenty of bulbs breaking through the dirt.  Here's a quick guide to identifying a few of the earliest starters, based on my own observations:
(Note, the colors and styles of the blooms will vary! these are just examples)

Click here for photos of some of these blooming!

Order of blooming (roughly - will vary greatly with how much sun and heat the plant gets; shadier plants will be delayed):

Snow Drops - Squill - Daffodils/Hyacinth - Tulips - Allium - Iris - Daylilly


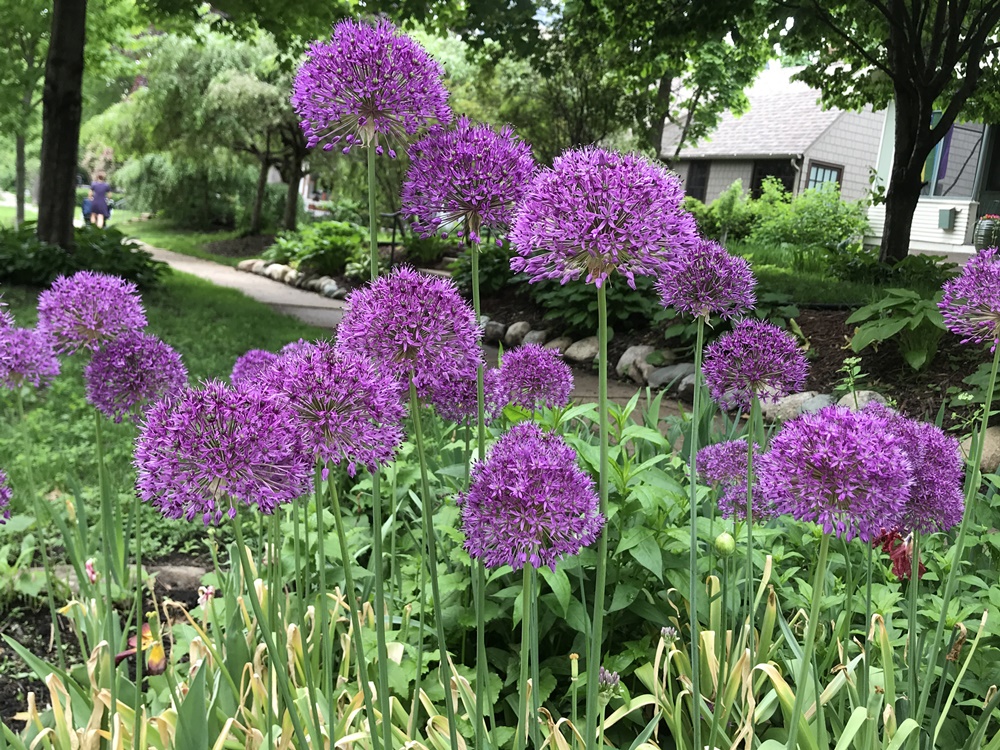
Allium: This is a large ornamental plant in the onion/chives/garlic family.  It has one large bloom per plant, so it's often planted in groups.  The initial shoots have a sort of 'starburst' pattern and they diverge immediately (unlike say a Hyacinth which pops up and then opens).  If you catch them early you might still see a little yellow or red on the tips of the leaves.  There are broader and narrower leafed versions.  Most of the flowers are purple, but some pink and white varieties exist.  These bloom later in Spring, like Irises. 


Crocus:  If you catch them super early, they start out as a small white spike coming out of the ground (this is usually mostly or entirely covered by dirt or leaves).  Once sprouting, they look like small bunches of grass, sometimes with a white stripe down the middle of the leaves.  Frequently you can identify them by the fact that by the time you see them, they are already blooming.  Available in many colors; such as white, purple, and yellow.


Daffodil:  Groups of wide blade shaped leaves that are all parallel to each other.  The groups of shoots grow in pairs from bulbs.  The flower eventually emerges in the center (see far right photo).  Daffodils bloom after the crocus and squill, but often before tulips.


Day Lily: Often you'll find them in big groups.  They can have the same sort of faded appearance that Irises get because they are re-growing from a previous season.  Day lily shoots will have multiple triangular leaves coming off of a central point, but unlike Irises they are wrapped around each other instead of side by side.


Hyacinth: Look like very thick spikes when first coming out of the ground, but very quickly open up as the flowers grow.  They have a similar appearance to Squill that have multiple flowers in a single plant, but are much larger.


  Iris: Very pointy blades growing from a single point, usually look more faded than other bulb leaves (on the right you can see new growth from a bulb that still has the dead leaves from last year attached).  The leaves all grow in a single flat plane.  Iris bloom late in Spring, well after the daffodils and tulips.


Tulip: Many start out red/orange, then become more green as they grow (some even have cool colored veins in the leaves).  They grow as wavy leaves all curving together around a central point.  If you see a tallish spike in your yard, it could be a tulip that hasn't started to unwrap yet.


Siberian Squill: Looks a bit like a smaller, blue crocus (though can have multiple flowers).  The leaves are slightly more substantial and fewer in number than crocus leaves.  Another one that is as like as not to be blooming by the time you see it.


Striped Squill: Similar to Siberian Squill, but white with stripes.  Here you can see the shoots when they are first breaking through the dirt.  With the multiple flowers per stem, they can look like tiny hyacinth.


Snowdrops: Common snowdrops (left) look similar to crocus or squill when first coming up.  Giant snowdrops (center and right) look a little more like curved daffodils.  They will, however, be out in force much earlier in the season. 


Bulb was eaten by a rodent: There is a hole where you planted the bulb.
 
 This happened to all but one bulb that I planted in my front yard, while all my backyard bulbs are fine.  I believe this is because my dog runs around my backyard, and the rodents were smart enough to stay away.  I've also heard that placing chicken wire or similar items over the bulbs can work, because it will keep animals from digging but allow the bulb to grow through it.


Early Arrivals that are NOT bulb plants:
There are quite a few other common early shoots that spring up that can look similar to the above plants but are non-bulb.  Here are a few of them:

Hosta:
Usually in a vaguely circular clump, hosta spikes are, well, spikey.  They look a little like a cross between a tulip and hyacinth spike but they are in groups.  If the leaves from the previous year haven't been cleared out they will also be surrounded by lots of dead leaf material.  They are a little more purple often right at the beginning, then can turn more green or white depending on the type of hosta. 


Peonies:
Peonies also grow in roundish clumps.  Peonies are odd in that they come out of the ground a very striking red color, even though the final plant is green.  They are little frilly red tops on red stalks.


Bleeding Hearts:
Bleeding hearts have a bit of a similar appearance to peonies at first but they get 'frilly' faster and have more leaves instead of long empty stalks.  They also fade from red to green very quickly.


Lily of the Valley
Lily of the Valley are very thin little tubes that grow in spaced out groups.  Unlike the other hosta and peonies etc, Lily of the Valley grow in larger masses because it is many individual root connected plants rather than a single round clump. Lily of the Valley are also much smaller, more delicate looking shoots.


Thanks to Theatrum Botanicum for some of the IDs!


Tuesday, March 22, 2011

Coleus Propagation from Small Clippings

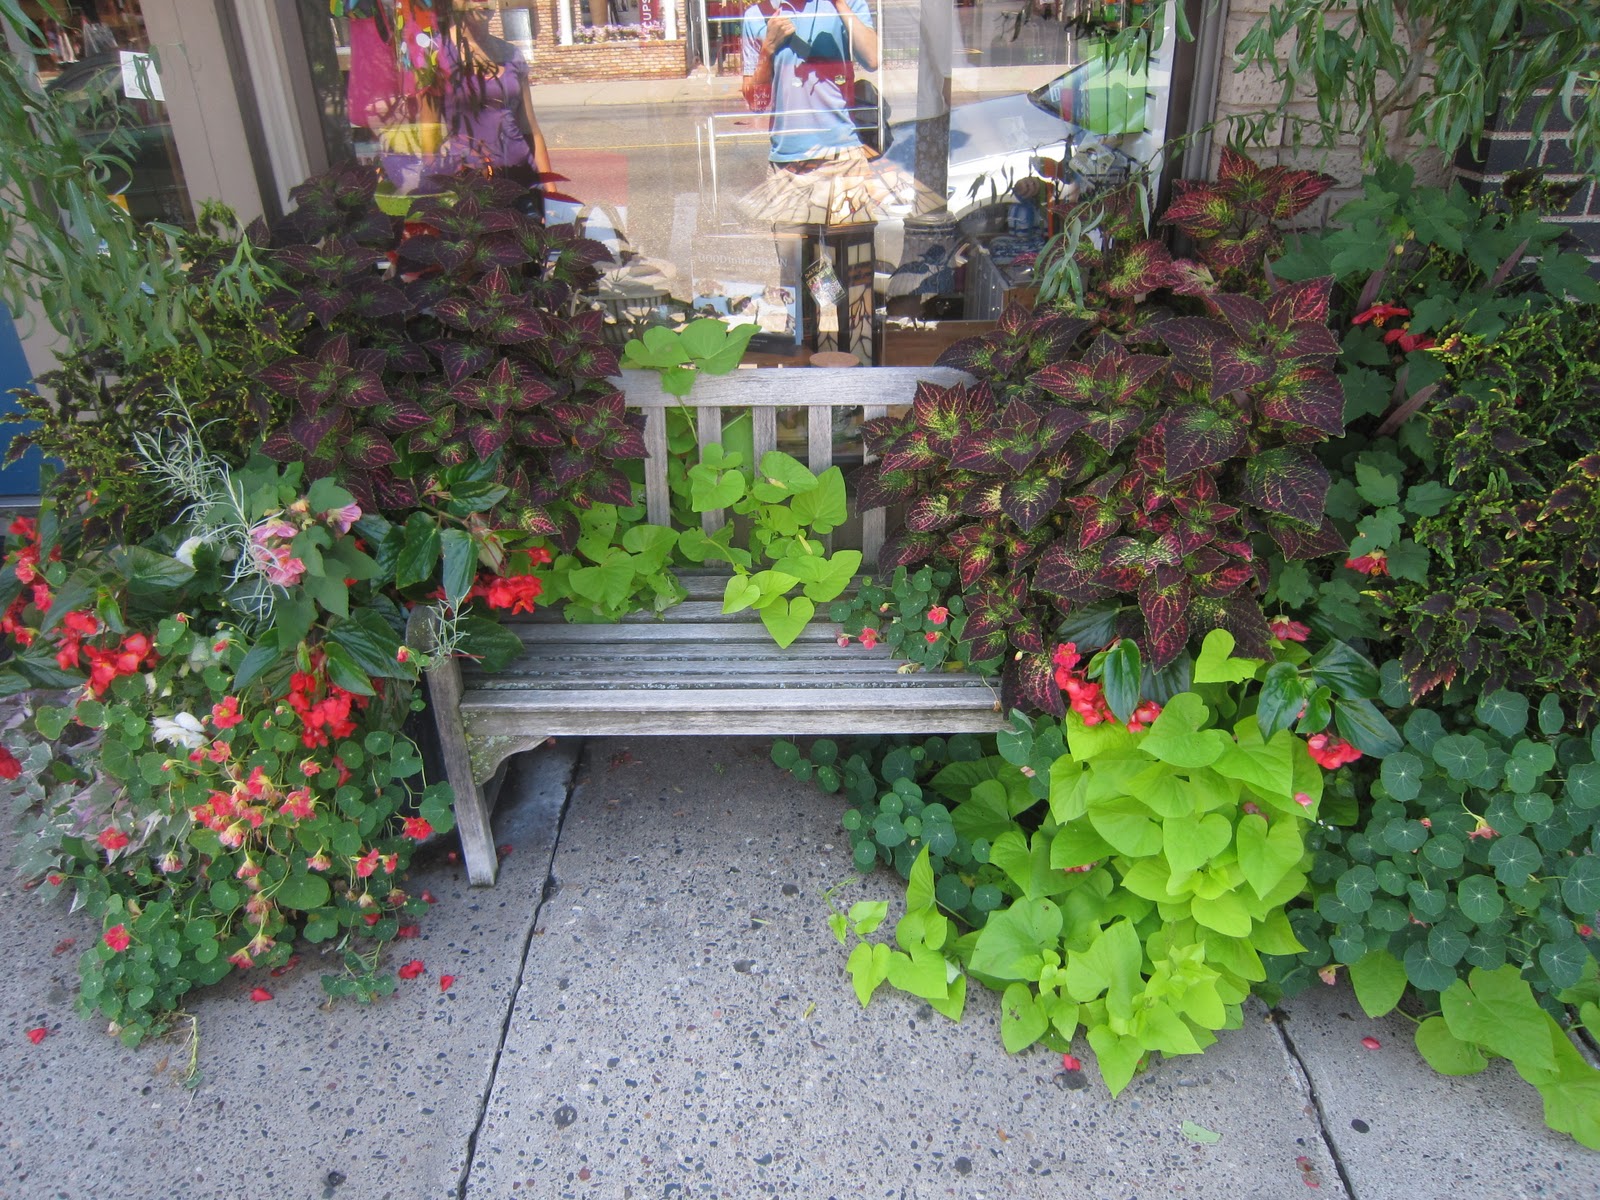
It's sort of spring-ish, so I thought I'd finally post on my Coleus propagation, which I actually did at the end of last summer.  Coleus are a great plant that have very colorful leaves and grow like crazy, so they make very pretty decorative plants (no need to wait for them to bloom!).  On the left are photos of some displays of Coleus on Grand Avenue.  My goal was to propagate Coleus using less than the standard 6 inch clippings that most people recommend.  I did this by rooting coleus clippings in glasses of water, then planting them in dirt.  To that end, I used 3 inch clippings of four different Coleus plants, and also tried using just clipped leaves from the plants.  In the end, I managed to get 3 of the 4 types of plants to successfully propagate from the 3 inch clippings.  The leaves actually managed to root in water, and lived for many months in soil, but never actually grew at all, and eventually died.  The 3 plants that did survive have been doing amazingly well, and throughout the winter I had to trim them back at times to keep them under control.  So, I heartily recommend propagating Coleus.  It is easy and very rewarding.


How to do it:


The Very Simple Version:
-Put 3 inch clippings in a glass of water, leave until roots sprout and are about 1 inch long
-Carefully plant in dirt (same type of dirt as the plant you got the clippings from is in)


The more in-depth version:
First I took multiple 3 inch long (or so) clippings from a variety of Coleus plants and put them in glasses of water.  I trimmed off the biggest leaves and just left two or four leaves at the ends of each stem.  I left about an inch to an inch and a half of stem under the water.  These stems had a tendency to curl after a few days in the water, so I had to periodically shift the plants so that they would stay submerged.

After 4-5 days I started seeing roots growing off the stems.  Depending on the plant, it may take a bit longer than this for the roots to start.

When the roots were about an inch or so long (about 8 days after starting for the quickest plant) I very carefully took them out of the water and put them in dirt (in shallow holes).  The roots are very fragile, so you have to be careful with them.  Try to keep the roots spread out in the dirt so that they are not all clumped together.  Cover them very carefully with dirt, and add water.  Of the Coleus plants I tried to propagate, two were successful in regular potting soil, but one required looser African Violet potting soil to thrive (to determine which you need, check the dirt from the plant you take a clipping from).


It took a few weeks before the first new buds grew from the plants, but once they did the plants took off (as shown in this not so great photo).  Can't wait to put them outside once it's warmer out! In terms of taking care of the Coleus, you can leave them in full or partial sun indoors, and water periodically (the leaves will droop when they really need water, but will spring back up when you water them!).  More on coleus and what happens in different light conditions here.

Update: It's flowering!

Sunday, March 13, 2011

Food: Bruschetta and Black Olive Crostini

Bruschetta and Black Olive Crostini are two of my favorite appetizers, so I thought I would add them to the blog.  Bruschetta is basically toast with a tomato topping, and Black Olive Crostini is basically toast with a cooked black olive topping. Since they are so similar (and easy to make), I usually make them at the same time.  Both of these taste best as soon as they're made. Note that the Crostini uses garlic powder while the Bruschetta uses garlic salt.   


How to make Bruschetta: 

Ingredients: 
Loaf of Italian bread or French Bread (baguette style)
Tomatoes
Fresh Basil
Olive Oil
Garlic Salt

Preheat oven to 425F
 
Directions:
The Bread:
-Take a loaf of Italian or French bread, and slice it up.
-Drizzle or brush olive oil onto the bread, and toast in the oven at 425 degrees (or just use a toaster oven).
-Toast until the bread starts to turn golden brown.

The Topping:
-Take tomatoes (I used five baseball sized tomatoes for one loaf of french bread), and cut them up into cubes
-Drain off as much liquid as you can from the chopped tomatoes 
-Add olive oil (a few tablespoons)
-Finely chop up a few leaves of fresh basil and mix them in
-Finally, add garlic salt to taste
-Put the topping on the bread (a spoonful per slice) and serve!   


How to make Black Olive Crostini 
(don't be fooled, it's as easy as it looks!)


Ingredients: 
Loaf of Italian or French bread (baguette style)
6oz jar of Black Olives
Olive Oil
Garlic Powder

Preheat oven to 425F

Directions:
-Drain the liquid from the olive can, and finely chop the olives (I use an olive chopper).
-Mix in a few tablespoons of olive oil, and garlic powder to taste.
-Slice up the bread and put a spoonful of topping on each slice.
-Bake until the bread becomes crispy.  Serve and enjoy!    

Friday, March 4, 2011

More Poison Dart Frogs

Buoyed by the success of my first clay and wire frog, I decided to make a few more of different colors.  I made them in the exact same manner, with a clay body and wire for the forelegs, and then painted them according to different species' color patterns
                                                            See the original how-to here!


Left to Right, I now have a Bumblebee poison dart frog, a Strawberry poison dart frog (Blue Jeans color morph), a Dyeing poison dart frog, and a (aptly named) Green and Black poison dart frog.  They have taken up residence in my orchids (though they are better suited to bromeliads), and I'm quite pleased with them :)