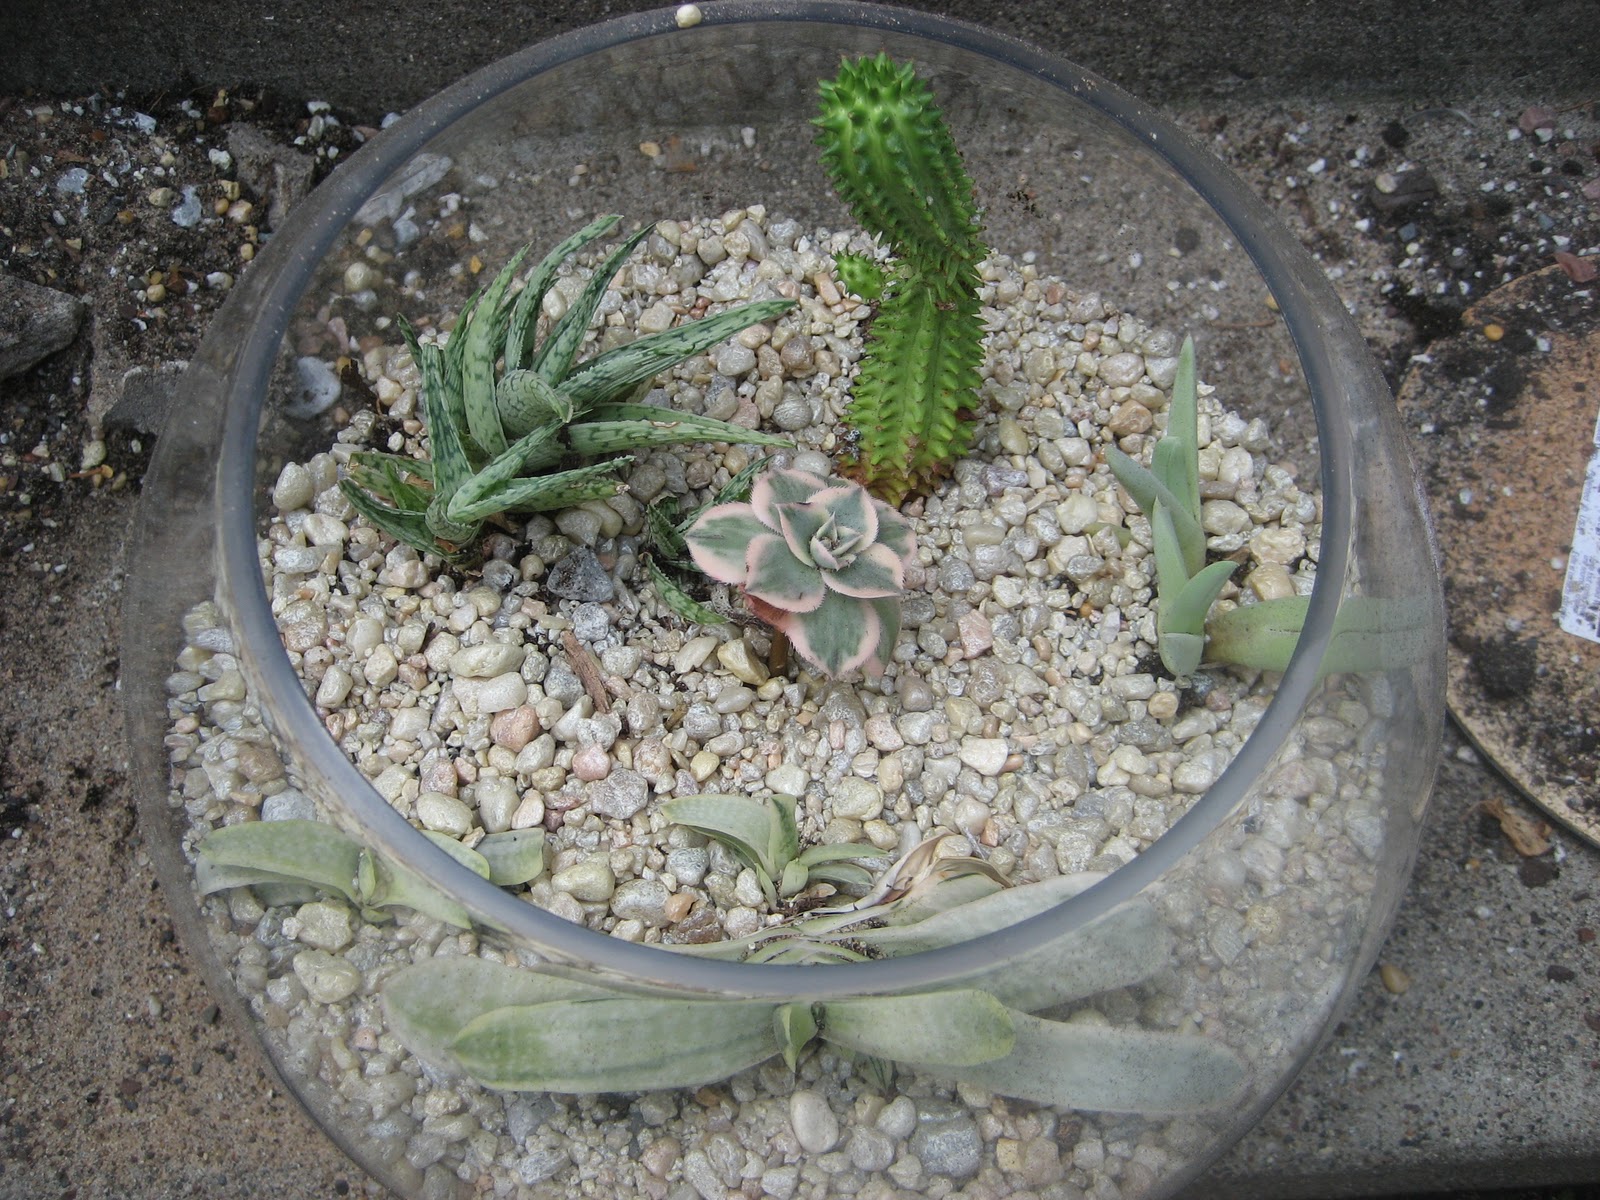
I had a problem earlier this year which was too many pots of succulents and not enough space for them. To fix this, I decided to put them all in a single large terrarium. I had an old glass bowl to use (it had once been a flower vase), so I didn't even have to buy anything!
For instructions on a smaller succulent terrarium, click here
 Supplies:
succulents (a cactus would work as well), dirt, sand, rocks, large glass bowl/dish/terrarium. Also nice: gravel/rocks for top layer.
 Plant selection:
I just used all the succulents I had in stray pots that needed a new home. This was not ideal (one of them it turned out was terrible for living in a terrarium and died), but consistent with my general theory of succulents which is: Buy a bunch and see what happens! When you buy your succulents you can ask someone at the garden store which ones do very poorly with humidity (don't get these ones for a terrarium), but I enjoy succulent roulette personally.
If you don't already have a glass bowl to use, stores such as Michael's sell them for pretty cheap, and have a lot of selection in terms of shapes/sizes. Since this is a succulent terrarium you do not want to have a covered dish.
Step 1: put large rocks in base of terrarium. This allows excess water to get out of the soil and not rot your plants, at least in theory.
Step 2: put smaller rocks around the large rocks. Still working on irrigation here.

 Step 3:
put sand over smaller rocks. In the end I am going to mix this sand with the dirt I put above it, so you can add it now or mix it with the dirt and then put them in together. If you have cactus potting soil, you can use that instead of the sand/dirt mix.
Step 4: put dirt over sand, mix together. Succulents and cacti need sandy soil. Having sand and soil separate might work (fancy terrariums you can buy often have layers like this) but it's not great for the plants.
 Step 5:
plant succulents! make sure to space them out a few inches (or more if you have large ones) so they can grow/get sunlight.
 Step 6:
put a layer of nice looking gravel/sand/rocks over the dirt
Step 7: accessorize! I added more shiny rocks.

Taking care of the terrarium: The terrarium will do best in a south window. Water rarely (once every two weeks is plenty), and make sure not to water so much as to leave standing water at the bottom of the terrarium. Make sure the terrarium is dried out before the next watering. You can fertilize the terrarium with half-strength Miracle-Gro or other houseplant fertilizer, but you don't need to do this too often.
So I waited a few months before posting this to make sure that the terrarium worked. I did end up losing one plant (apparently it cannot handle any moisture so it died in the ever so slightly moist open-air container), but the rest are doing great! They have all been growing well, and many are shooting off new pups. The one plant that did die was replaced with another, and that has been doing great!
The plant in the foreground here is the one that did not make it.