DIY D&D Mimic Chest Craft

I have been doing a lot of D&D and Renaissance Festival adjacent crafting lately and this Mimic Chest is one of my favorites yet.

Supplies:
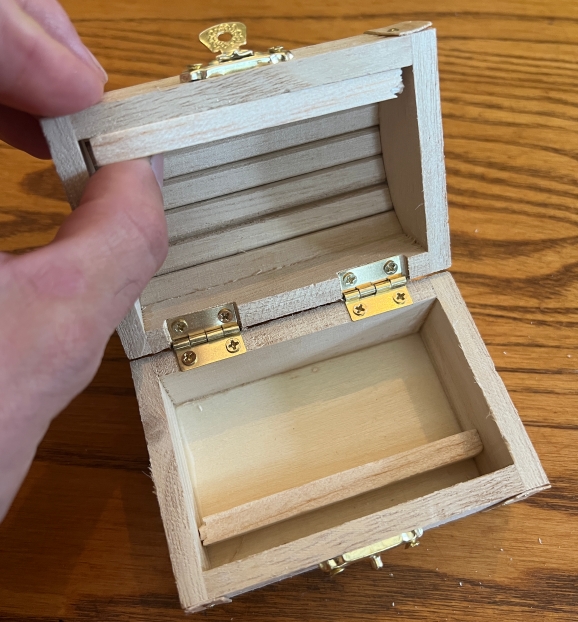
-Pre-made balsa wood chest from a craft/hobby store
-Balsa wood strips (to put teeth into)
-Toothpicks or similar
-hot glue (lots)
-acrylic paint (I use cheap craft paint)
-Parchment paper
-semi-gloss polyurethane
Construction:
Part 1: Teeth
Step 1) First I cut the balsa strips to make the 'gums' of the mimic where the teeth would go. I set the bottom row of teeth back to give room for the top row when the box closes.
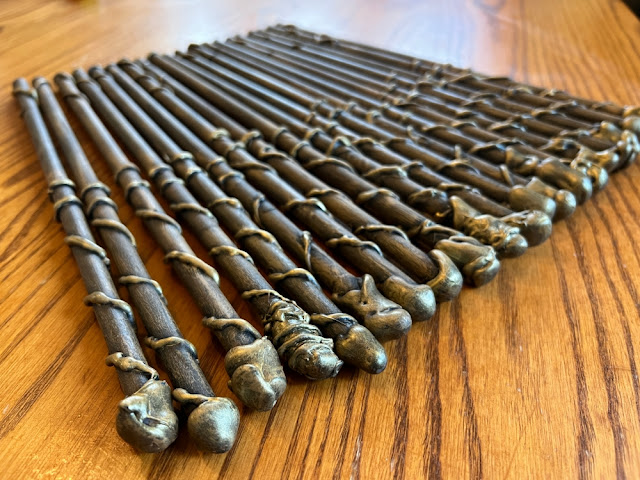
Step 2) I cut the tooth picks into small pieces and put 6 in each balsa strip to form the base of the teeth.

Step 3) I added hot glue over the tooth picks to form the teeth. I had to hold these a long time to allow the glue to drip and solidify in the right way.

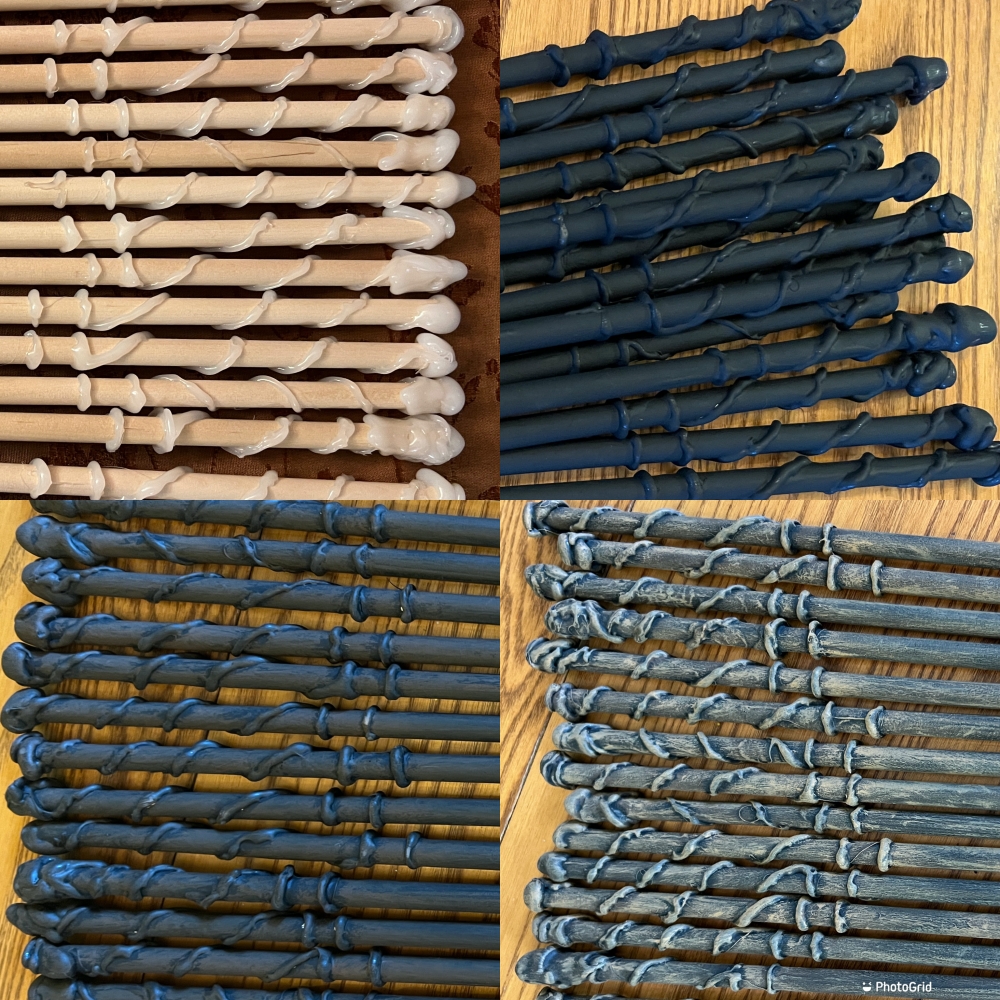
Step 4) I painted the teeth outside the box to make sure I could let the paint dry in an appropriately way to keep the tooth shape.

Part 2: Tongue and Mouth
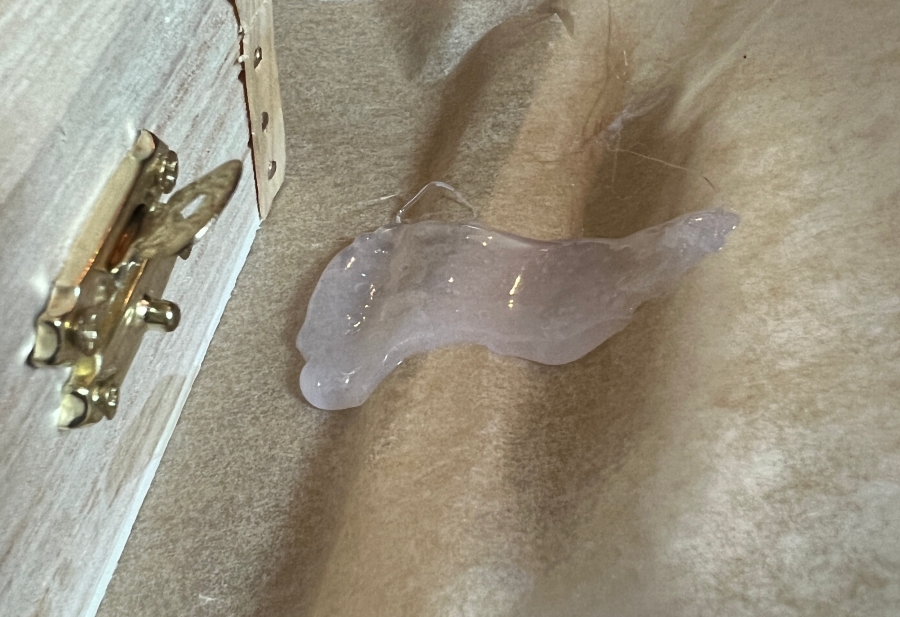
Step 5) I put parchment paper on top of some pieces of balsa wood to make a curved surface, then put hot glue down to form the tongue. The curve of the parchment paper allowed the tongue to have a curved shape which worked really well. I used a scissors to trim the edges of the tongue once it dried.

Step 6) I used hot glue to put the gums with teeth and tongue into the mouth, then used more hot glue to cover up the edges and cracks of the chest, which also gave it more organic tissue looking bits. I double checked repeatedly to make sure the chest could fully close once I put the teeth in.


Part 3: Painting.

Outside of the chest: Solid Black first, then a heavy dry brush of dark brown, then a lighter dry brush of light brown to give it an aged appearance.
Inside/Gums: Solid White first, then a dark pink. Next I did a dark red wet coat to seep into the cracks and shadows. Finally once that dried I did a lighter pink dry brush.
Tongue: Very dark red/brown with a lighter red dry brush
Teeth: Dark brown at the very base, then a yellow brown, then white.
Part 4 Sealing:
Once the paint was dry I used a spray semi-gloss polyurethane to seal it. All done!