For Christmas this year I received a broken window frame, six hanging tear drop terrariums, and a gift card to a local plant store. The idea was to make this rather large 6 piece hanging terrarium, which doubles as a very nice living art installation. It was a fun challenge! I'm extremely happy with the results, and hopefully this guide will help anyone similarly interested in making a hanging piece of living wall art. If DIY is too much, items similar to this are available online (particularly on etsy.com, of course)
The Frame
I used an old window frame that was bought for $10. Since it is an old window frame that looks as if it just fell out of someone's wall one day, it had the following issues:
1) there was broken glass in it
2) there were metal spikes holding in the glass
3) it was covered in what was likely lead paint
4) it was full of splintering wood
5) it was structurally unsound
Do not scrape lead paint or remove glass without appropriate protective equipment! I am not an expert and cannot give you guidance for that. I fortunately had the help of someone who does know what he is doing, and so the glass was tapped out safely, the glass holding metal pieces removed with pliers, and the lead paint scraped off. In terms of the structure of the frame, we had to remove a few old screws and some rotting wood, then drilled in new screws and added supporting wood pieces in one or two places.
Better idea: for a little extra money, see if you can buy a frame that is already cleaned up, or have a friend who has a workshop who can help you out.
I painted the frame a dark yellow, and after a coat or two it was looking like new! Well, it looked respectable at least.
The Glass Globes


I used six of these glass tear-drop shaped terrariums and hung one from each section of the window using medium Sisal string.
The Scenery


I was given a mixed bag of various dried mosses and red sand that combined nicely to make for a variety of terrarium settings. Be creative with what you put into these; rocks, twigs, sand and moss can all look good in pretty much any combination. Do not put too much moss in as it traps water and that can potentially hurt the air plants. I tried to keep all my moss towards the back of the globes and the air plants in front so that there is limited contact between them.
The Plants

I went to my local flower/plant store and bought an assortment of Tillandsia plants. Similar to my thinking with
succulent gardens, I bought a variety of types and whichever ones survive best I will keep. There are a large number of species of Tillandsia, and the variety of foliage makes the hanging terrariums more interesting.
Plant Care:
I soaked the plants for about 20 minutes before putting them into the globes. Looking around online there is debate as to whether tillandsia must be soaked regularly or if very intense misting is sufficient to water them, but either way they do need regular watering (despite being called air plants they do not actually get sufficient moisture to survive on humidity alone). Do not water them in such a way that they are left in standing water; either heavily mist them or soak them for 20 minutes and then let the water run off before returning them to their terrariums. Do not place these plants in direct sunlight! They like bright indirect light.
Mounting the frame:
The window frame is quite heavy, so we needed a rather large hooked screw to hold it up on the wall, along with a stud finder to make sure the screw is actually secured well into the wall. Drywall is not going to support something this heavy. We put two eye-hook screws into the top of the frame, then tied a rope through them and hung it up. Make sure you get rope and screws that are strong enough for the weight of the window frame you use!


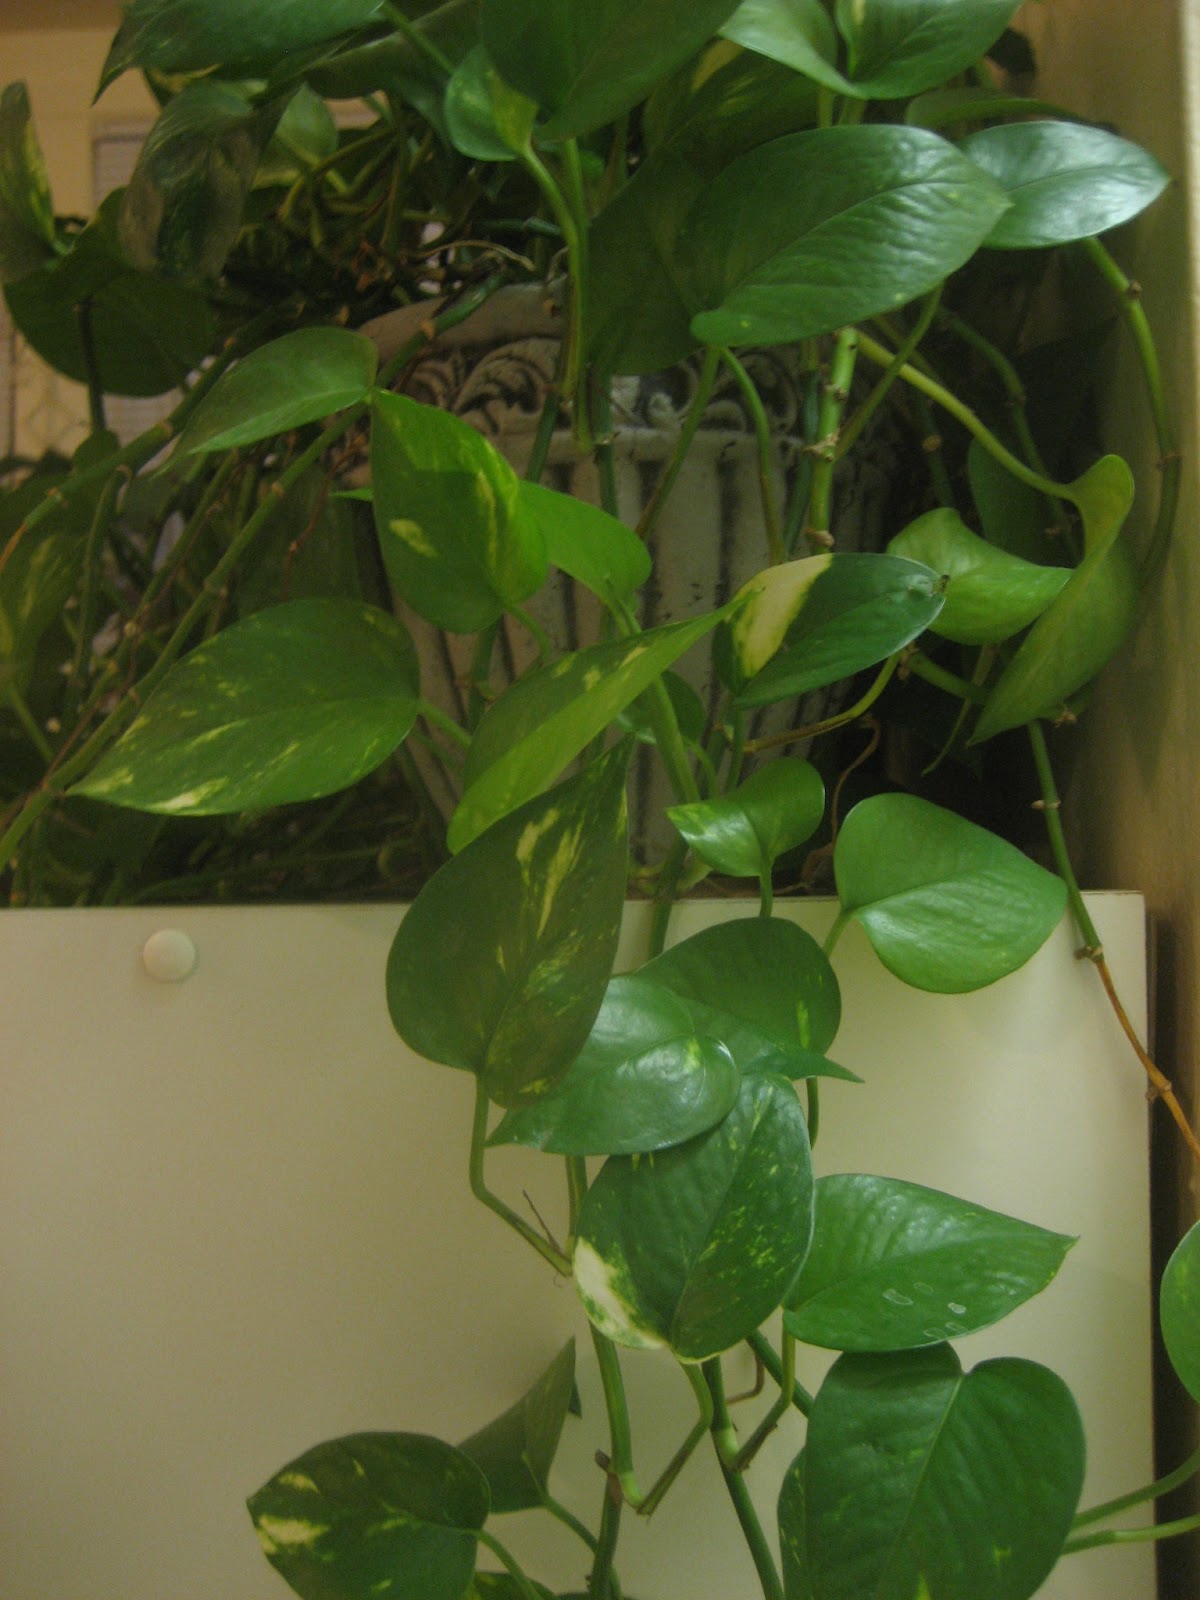 Pothos is another easy to propagate plant. Cuttings from a mature plant can easily be rooted in water, and then planted in bunches to make a new, full potted plant. These are the steps I took to propagate my pothos plant (I am in no way an expert in this field!).


 4) Once roots are 1-2 inches long (this will likely take a couple weeks), carefully plant in regular potting soil. The roots are fragile, so be careful placing them in the dirt or they may break off!

 For Christmas this year I received a broken window frame, six hanging tear drop terrariums, and a gift card to a local plant store. The idea was to make this rather large 6 piece hanging terrarium, which doubles as a very nice living art installation. It was a fun challenge! I'm extremely happy with the results, and hopefully this guide will help anyone similarly interested in making a hanging piece of living wall art. If DIY is too much, items similar to this are available online (particularly on etsy.com, of course)


 I went to my local flower/plant store and bought an assortment of Tillandsia plants. Similar to my thinking with succulent gardens, I bought a variety of types and whichever ones survive best I will keep. There are a large number of species of Tillandsia, and the variety of foliage makes the hanging terrariums more interesting.