Tuesday, March 22, 2011

Coleus Propagation from Small Clippings

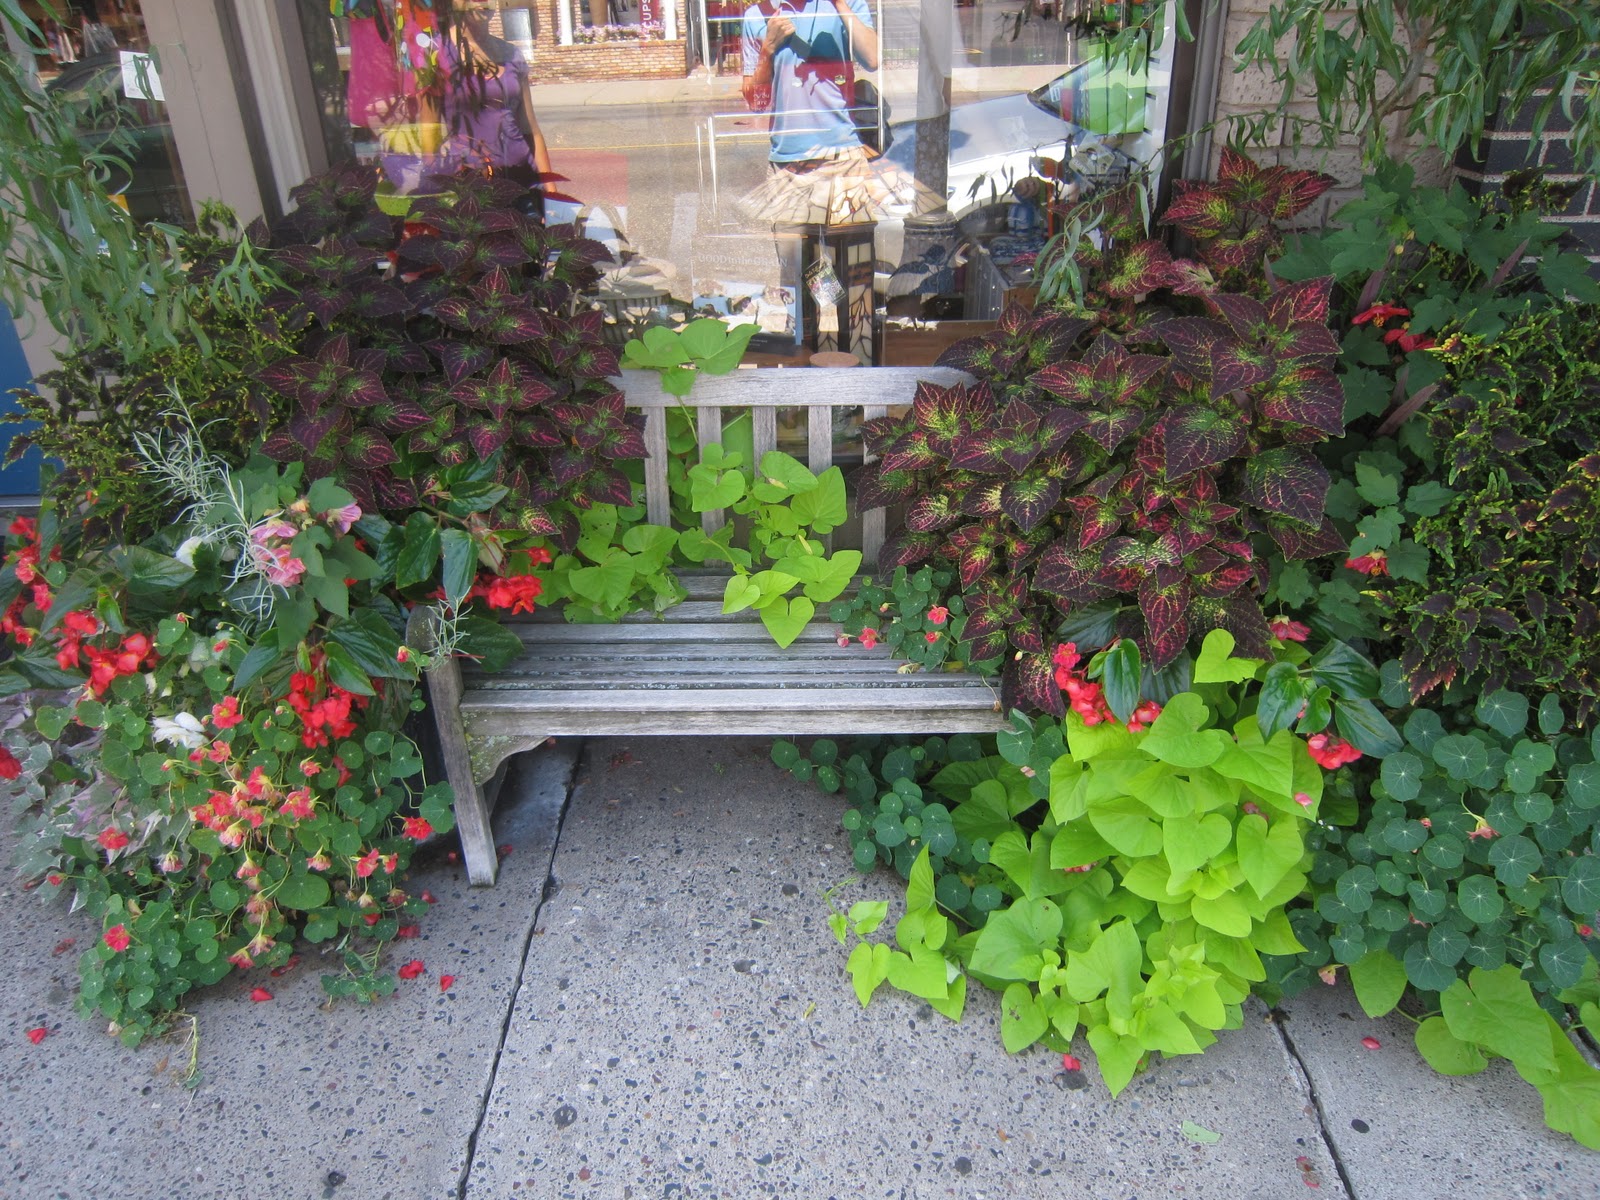
It's sort of spring-ish, so I thought I'd finally post on my Coleus propagation, which I actually did at the end of last summer.  Coleus are a great plant that have very colorful leaves and grow like crazy, so they make very pretty decorative plants (no need to wait for them to bloom!).  On the left are photos of some displays of Coleus on Grand Avenue.  My goal was to propagate Coleus using less than the standard 6 inch clippings that most people recommend.  I did this by rooting coleus clippings in glasses of water, then planting them in dirt.  To that end, I used 3 inch clippings of four different Coleus plants, and also tried using just clipped leaves from the plants.  In the end, I managed to get 3 of the 4 types of plants to successfully propagate from the 3 inch clippings.  The leaves actually managed to root in water, and lived for many months in soil, but never actually grew at all, and eventually died.  The 3 plants that did survive have been doing amazingly well, and throughout the winter I had to trim them back at times to keep them under control.  So, I heartily recommend propagating Coleus.  It is easy and very rewarding.


How to do it:


The Very Simple Version:
-Put 3 inch clippings in a glass of water, leave until roots sprout and are about 1 inch long
-Carefully plant in dirt (same type of dirt as the plant you got the clippings from is in)


The more in-depth version:
First I took multiple 3 inch long (or so) clippings from a variety of Coleus plants and put them in glasses of water.  I trimmed off the biggest leaves and just left two or four leaves at the ends of each stem.  I left about an inch to an inch and a half of stem under the water.  These stems had a tendency to curl after a few days in the water, so I had to periodically shift the plants so that they would stay submerged.

After 4-5 days I started seeing roots growing off the stems.  Depending on the plant, it may take a bit longer than this for the roots to start.

When the roots were about an inch or so long (about 8 days after starting for the quickest plant) I very carefully took them out of the water and put them in dirt (in shallow holes).  The roots are very fragile, so you have to be careful with them.  Try to keep the roots spread out in the dirt so that they are not all clumped together.  Cover them very carefully with dirt, and add water.  Of the Coleus plants I tried to propagate, two were successful in regular potting soil, but one required looser African Violet potting soil to thrive (to determine which you need, check the dirt from the plant you take a clipping from).


It took a few weeks before the first new buds grew from the plants, but once they did the plants took off (as shown in this not so great photo).  Can't wait to put them outside once it's warmer out! In terms of taking care of the Coleus, you can leave them in full or partial sun indoors, and water periodically (the leaves will droop when they really need water, but will spring back up when you water them!).  More on coleus and what happens in different light conditions here.

Update: It's flowering!

Sunday, March 13, 2011

Food: Bruschetta and Black Olive Crostini

Bruschetta and Black Olive Crostini are two of my favorite appetizers, so I thought I would add them to the blog.  Bruschetta is basically toast with a tomato topping, and Black Olive Crostini is basically toast with a cooked black olive topping. Since they are so similar (and easy to make), I usually make them at the same time.  Both of these taste best as soon as they're made. Note that the Crostini uses garlic powder while the Bruschetta uses garlic salt.   


How to make Bruschetta: 

Ingredients: 
Loaf of Italian bread or French Bread (baguette style)
Tomatoes
Fresh Basil
Olive Oil
Garlic Salt

Preheat oven to 425F
 
Directions:
The Bread:
-Take a loaf of Italian or French bread, and slice it up.
-Drizzle or brush olive oil onto the bread, and toast in the oven at 425 degrees (or just use a toaster oven).
-Toast until the bread starts to turn golden brown.

The Topping:
-Take tomatoes (I used five baseball sized tomatoes for one loaf of french bread), and cut them up into cubes
-Drain off as much liquid as you can from the chopped tomatoes 
-Add olive oil (a few tablespoons)
-Finely chop up a few leaves of fresh basil and mix them in
-Finally, add garlic salt to taste
-Put the topping on the bread (a spoonful per slice) and serve!   


How to make Black Olive Crostini 
(don't be fooled, it's as easy as it looks!)


Ingredients: 
Loaf of Italian or French bread (baguette style)
6oz jar of Black Olives
Olive Oil
Garlic Powder

Preheat oven to 425F

Directions:
-Drain the liquid from the olive can, and finely chop the olives (I use an olive chopper).
-Mix in a few tablespoons of olive oil, and garlic powder to taste.
-Slice up the bread and put a spoonful of topping on each slice.
-Bake until the bread becomes crispy.  Serve and enjoy!    

Friday, March 4, 2011

More Poison Dart Frogs

Buoyed by the success of my first clay and wire frog, I decided to make a few more of different colors.  I made them in the exact same manner, with a clay body and wire for the forelegs, and then painted them according to different species' color patterns
                                                            See the original how-to here!


Left to Right, I now have a Bumblebee poison dart frog, a Strawberry poison dart frog (Blue Jeans color morph), a Dyeing poison dart frog, and a (aptly named) Green and Black poison dart frog.  They have taken up residence in my orchids (though they are better suited to bromeliads), and I'm quite pleased with them :)


Monday, February 28, 2011

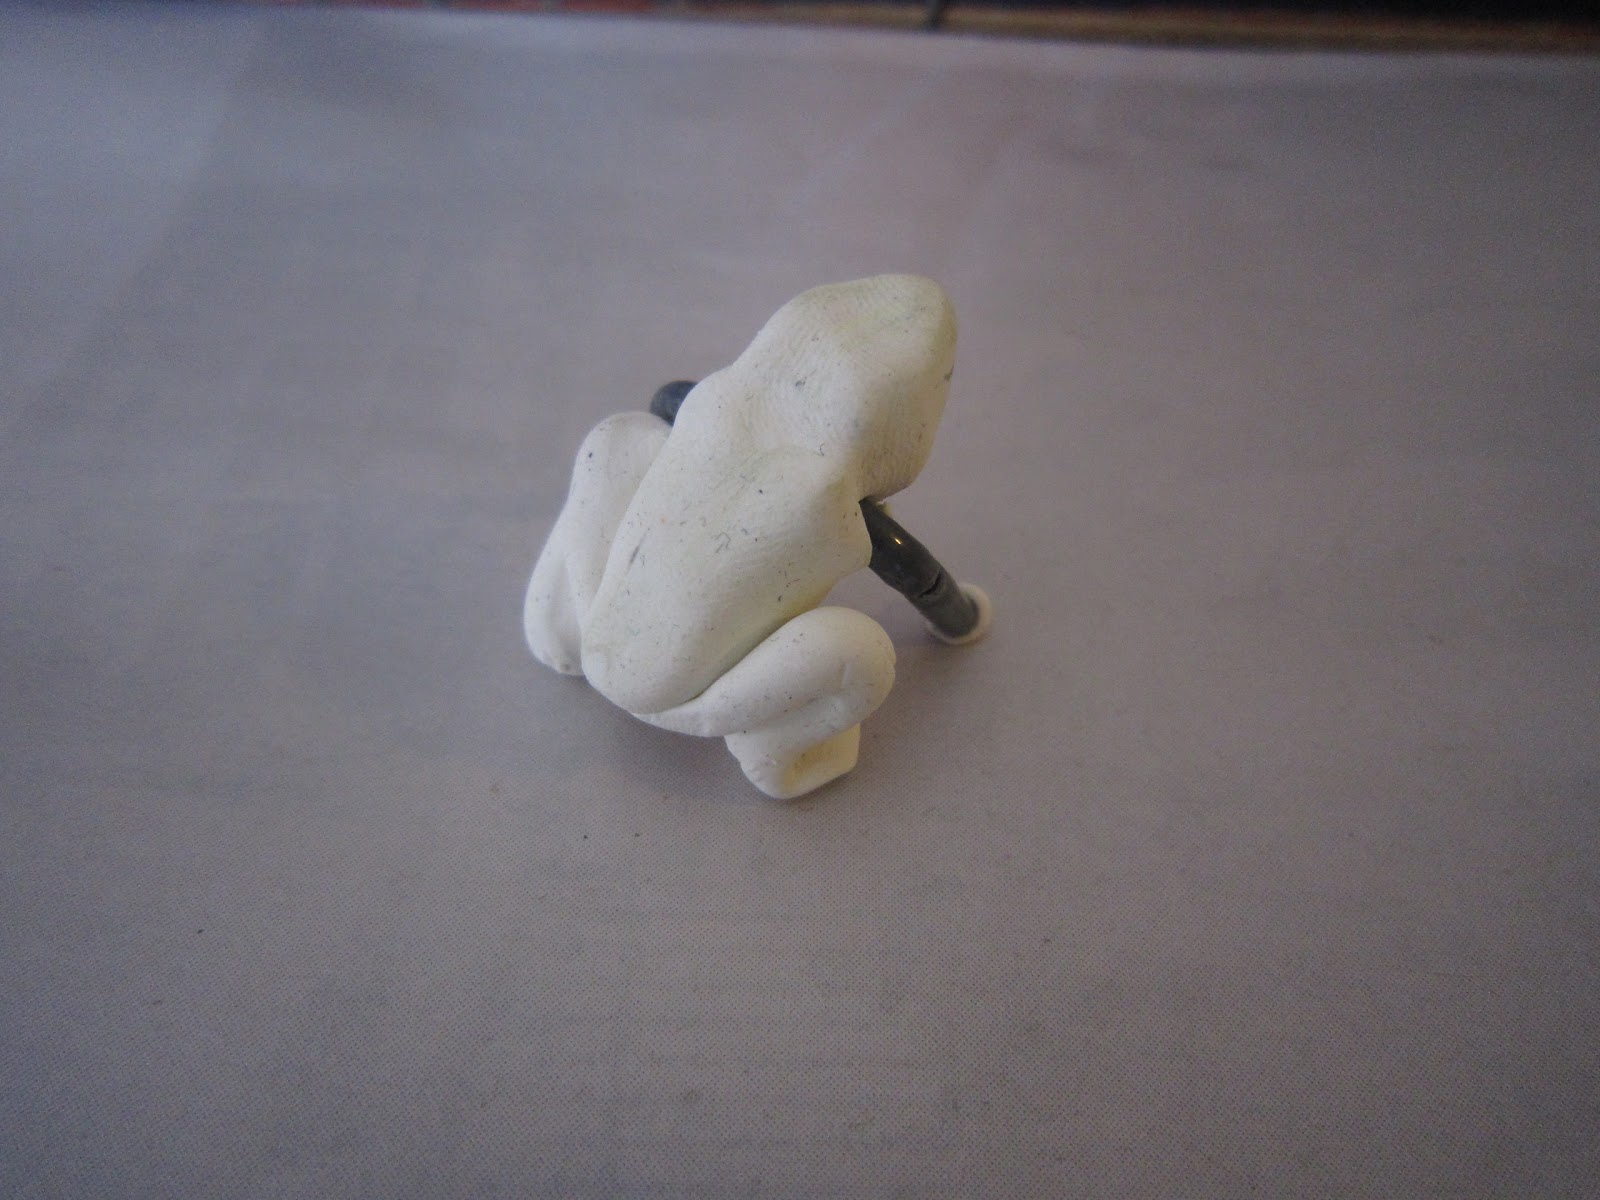
Clay and Wire Poison Dart Frog

I've been reading about poison dart frogs a lot lately, and decided to try to make one for myself.  They are very small creatures, so I tried to go for life size (about an inch long).

I made the frog out of white Sculpey clay and some phone wire I had around the house (left over from the Batman costume).  Since poison dart frogs usually have very complicated and ornate coloring, I decided to paint the frog rather than make it out of multiple colors of Sculpey.  The wire was necessary because the tiny front legs of the frog refused to stay up when made out of clay, so I replaced them with wire to make sure my frog didn't collapse.  In the end I didn't make any of the toes for the frog, but they quite likely would have just broken off anyways.

To paint the frog, I first went with a solid yellow base coat.  I did this three times in order to get a very bright, rich yellow color, and also because the wire legs were fairly resistant to being painted.

Once the yellow was on, I added the black.  This particular type of frog is actually black with yellow stripes, but if you paint black first, the yellow will be a hundred times more difficult to get right.

Now that the frog was painted, I added a clear coat of varnish to give it that shiny, wet, amphibian look.  All done!

See all the frogs here!


For this project I used Sculpey clay and Games Workshop paints:
 

Sunday, February 20, 2011

Artfully Arranging Flowers: Three Roses for Valentines

Flower arranging is nothing unique of course, but this year I tried to make a Valentines arrangement that would stand out a bit, or at least not just be a vase packed with flowers.  I looked at a lot of arrangements available online, and eventually was inspired to make this.

The supplies are: A square-ish vase, smooth river stones, two glass hearts (not necessary, but add a nice touch), and three roses with some greenery and baby's breath (the tiny white flowers).

I put the rocks in the vase and put the hearts on top.  I debated mixing the hearts deeper into the rocks, but I didn't have enough to make them stand out and not just get buried.  If you're using a lot of glass beads or something similar, you could just mix them with the stones.  Next I cut the roses to three separate lengths, each long enough to have the stem reach the bottom of the base, and each one a flower longer than the last.  I decided to have the red rose the main flower, so it was the longest.  Place the roses into the vase and make sure the rocks are holding them well in place.  Finally, accent the roses with the baby's breath (cut so that it will be below the height of the rose flowers) and tall greenery in the back.   See the diagram for heights and numbers of materials.  Of course, don't forget water!

See all Cut Flower Arrangement ideas here.

Tuesday, February 15, 2011

Water Color over Ink drawing


Water color over ink.  I'm very happy with how it turned out.  I really don't know much about water-coloring, so this is a nice way to fake it.  For more water-colored items, click here.

I used some old water colors I found at home; nothing even remotely fancy.

Sunday, February 13, 2011

Minnesota Song Birds: Water Color

I finally had a chance to color in my new Minnesota song bird drawings.  I used old water-colors (I think originally from a coloring book...they're quite old) and colored in a print out on 110lb card stock.  The card stock isn't made to be water-colored, and the paper did warp a little, but not too bad.  Coloring over printed (or drawn) ink can be tricky because you can fade the ink lines if you make it too wet or brush over it too many times.  However, it meant I could try again if I messed up by just printing out another copy.

The original ink drawings are here
The first set of birds are here
Other water color pieces

Tuesday, February 1, 2011

Como Zoo Orchid Show

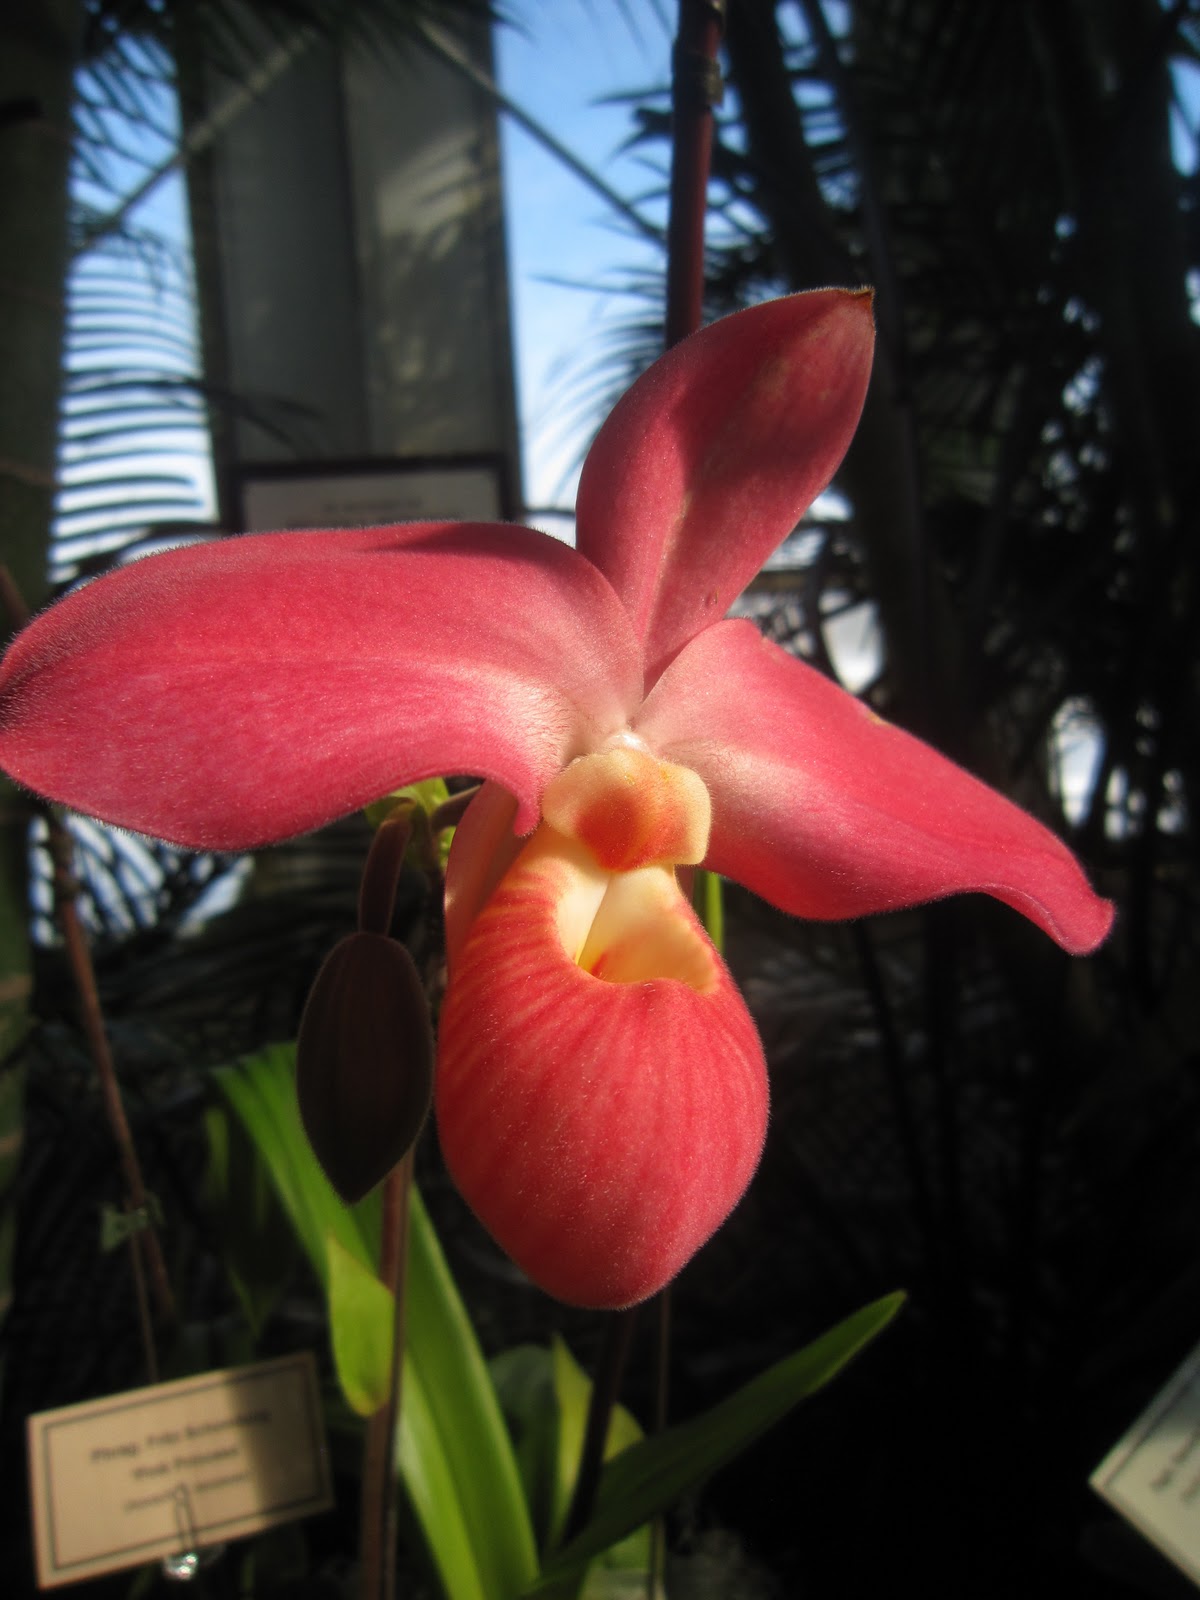
I went to the Orchid Show at the Como Zoo this past weekend, and was quite amazed by the number and variety of orchids, and thought I'd share.  I was quite happy with how well my camera's macro setting was working indoors and under rather adverse conditions.


See more orchid related posts here
This is my camera