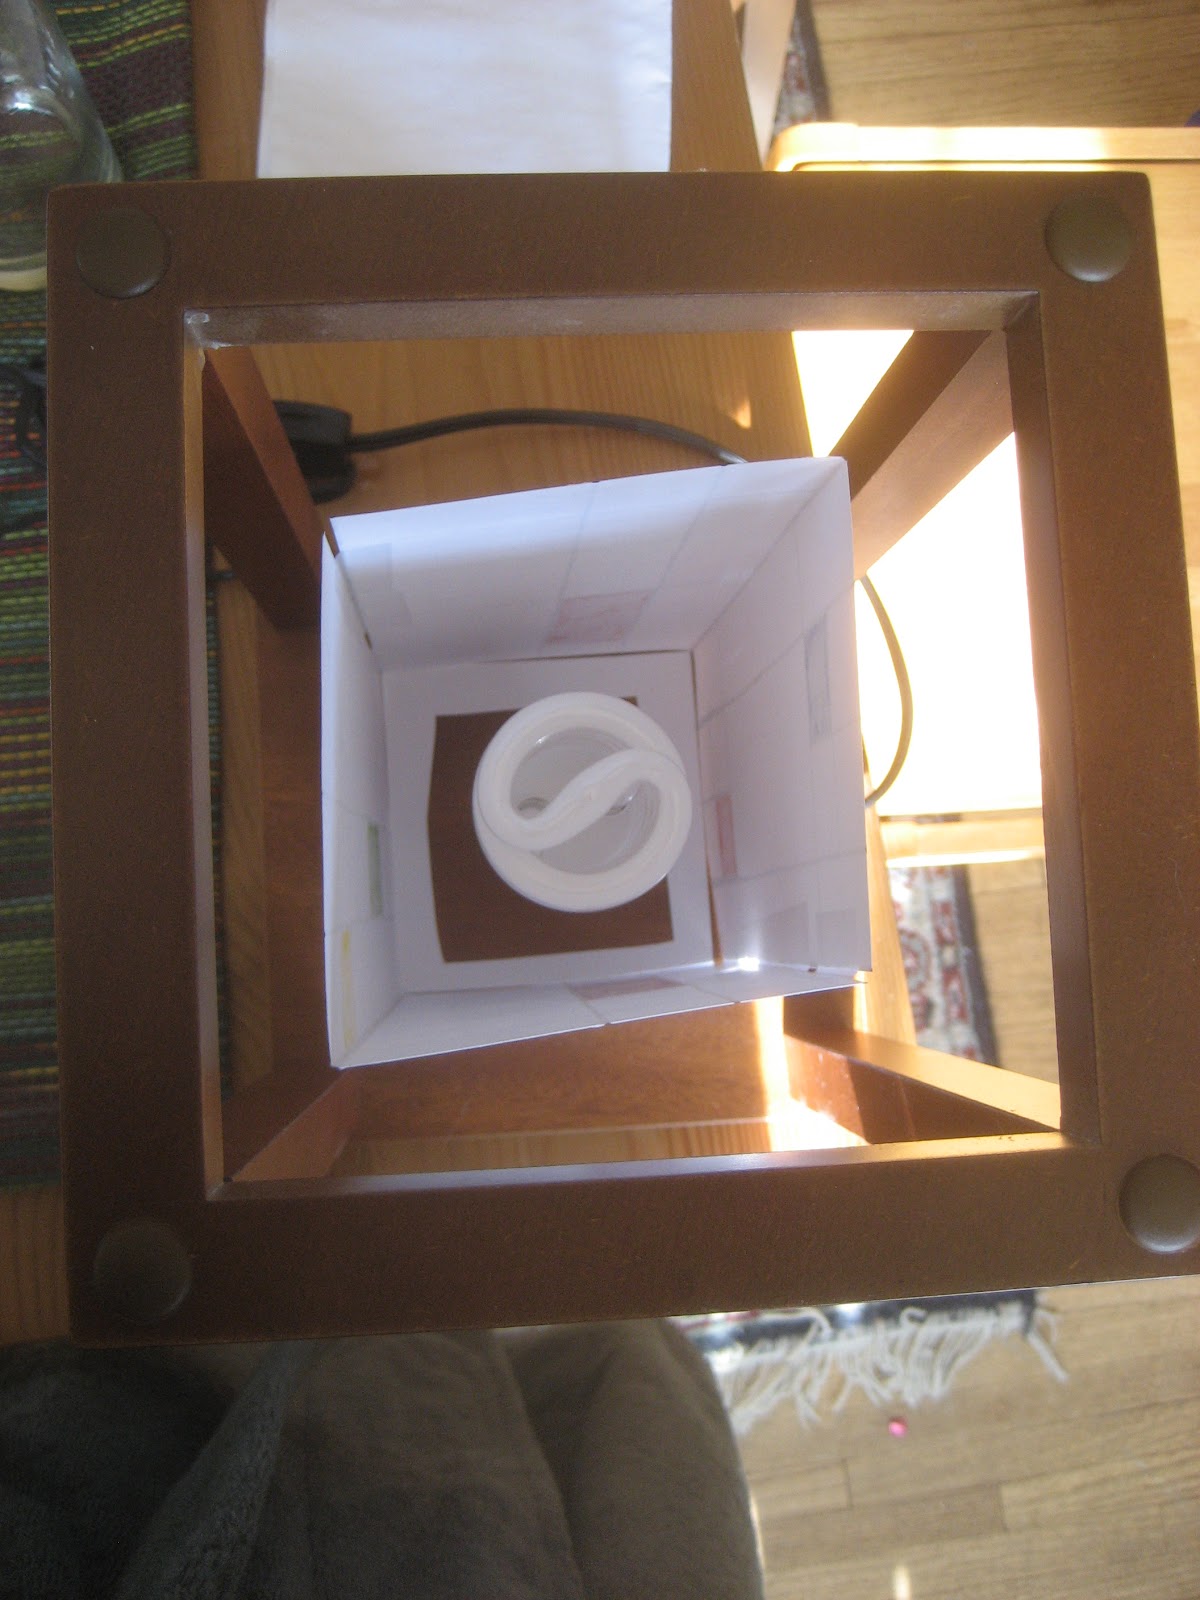
This is a jewelry rack I made from a lamp! I spent a long time looking for inspiration for how to make a jewelry box/rack/storage device that could hold a large number of necklaces but display them rather than shove them in drawers. I ended up finding a neat lamp at Target that fit the bill perfectly (with some adjustments of course).
Supplies: Lamp (see link below), metal screw hooks, card stock and permament markers, CFL lightbulb.
I started out with
this lamp from Target.
I knew I would need to replace the lamp shade with something smaller so that each side could be used, and of course I had to install the hooks for hanging jewelry, but the overall shape is nice (not too big) and the lamp aspect of it is a fun bonus.
First I put in the hooks. They are about an inch apart, and I was able to screw them in mostly by hand, so not a lot of difficulty there. One of them did break at the neck when I over tightened it though, so don't try to go too far. I have all the hooks pointing outwards for ease of use. I debated putting hooks along the sides of the columns, but decided that would look strange (can always add them later if more space is needed!).
Here you see the lamp with the shade removed (it just slides out, not attached in any way).
Next I drew a pattern for my lamp shade. I wanted to do a Mission style cover, so I drew a bunch of straight lines and colored in some boxes (just search 'mission style glass' for inspiration). Fine line between Mission and
Modrian.
The lamp shade was made drawing permament marker on cardstock (110lb wt). It is two 8x8 inch pieces (each side of the lampshade is 8x4 inches) which are taped together, and a 4x4 inch base piece that has the center cut out of it to go around the light fixture. Having the lamp shade only 8 inches tall allows you to access all the hooks at once without having to rotate the box. To tape the pieces together, I first taped them together along one edge, then folded them both in half and put tape on one side and then 'shut' them together.
Note: DO NOT use a regular light bulb with a paper lamp shade! I used a CFL bulb, but still do not leave it turned on when I'm not around (not sure how hot it gets). Make sure the paper is not directly touching the bulb!
And that was it! It actually took me two tries to make a lamp shade I liked (the lines were a bit wavy the first time around), but overall it was a fairly simple project.