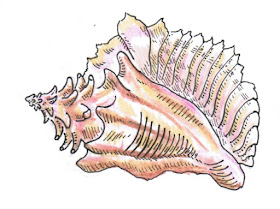
Tropical themed coloring! Bird of Paradise flower and a Conch shell.
Sunday, May 31, 2015
Tuesday, May 26, 2015
Dinosaur Serving Plate
 This is not actually my own project; my awesome friend Ashley made this for us as a wedding gift and gave me permission to share it with the world! Surely a must-have for any dinosaur themed gala or event.
 The basic idea is very simple: Take a dinosaur toy (or any tall item, really), cut the top off, glue a serving platter onto the base, then glue the top back onto the tray. They used an epoxy glue to make sure it has a solid attachment.
The hardest part is getting a level cut so that the tray sits flat. On the plus side, if your initial cut is a little off you can easily trim it up to make it flatter. In this case, the arms of the dinosaur conveniently were at a level that they also support the plate.
The other tricky aspect is balancing the plate. The toy dinosaur makes a nice tripod with its feet and tail to support weight. The majority of the plate sits over this tripod (behind the head) so that it doesn't tip forward when weight is added to the plate. You want the center of your plate over the center of support of the toy, not the part you cut.
For the painting/finish, make sure to use something food safe (if you're going to be serving food on it) or keep food away from the head! Paint/finish the head before attaching it to the plate to make sure you don't get your paint/finish on the plate itself. You're ready to party!
I call him Alfred, the Dinosaur Butler.


